More and Better Anaglyphs: Line Art
In the previous post, we made anaglyphs using text. Text works easily because in every program it is easy to make exact duplicates of a phrase and assign the desired colors. But what if we want to make something a little more fun? I’ll give a few examples of how I generate anaglyphs using Affinity Photo, Procreate and even GIMP.
LINE ART
Let’s keep the first example simple: B&W line art. In this example I will hand-trace photographs using Procreate.
1. Import photo into a Procreate page. Lock down the layer. I duplicate this layer for extra safety but that is optional.
2. Create a new layer and trace the object in black. Hide the image layers.
3. (Optional but recommended) Create a new layer and add the background/anchor pattern in black or gray. Hide this layer for now.
The line art with a background pattern.
4. Duplicate the line art layer twice.
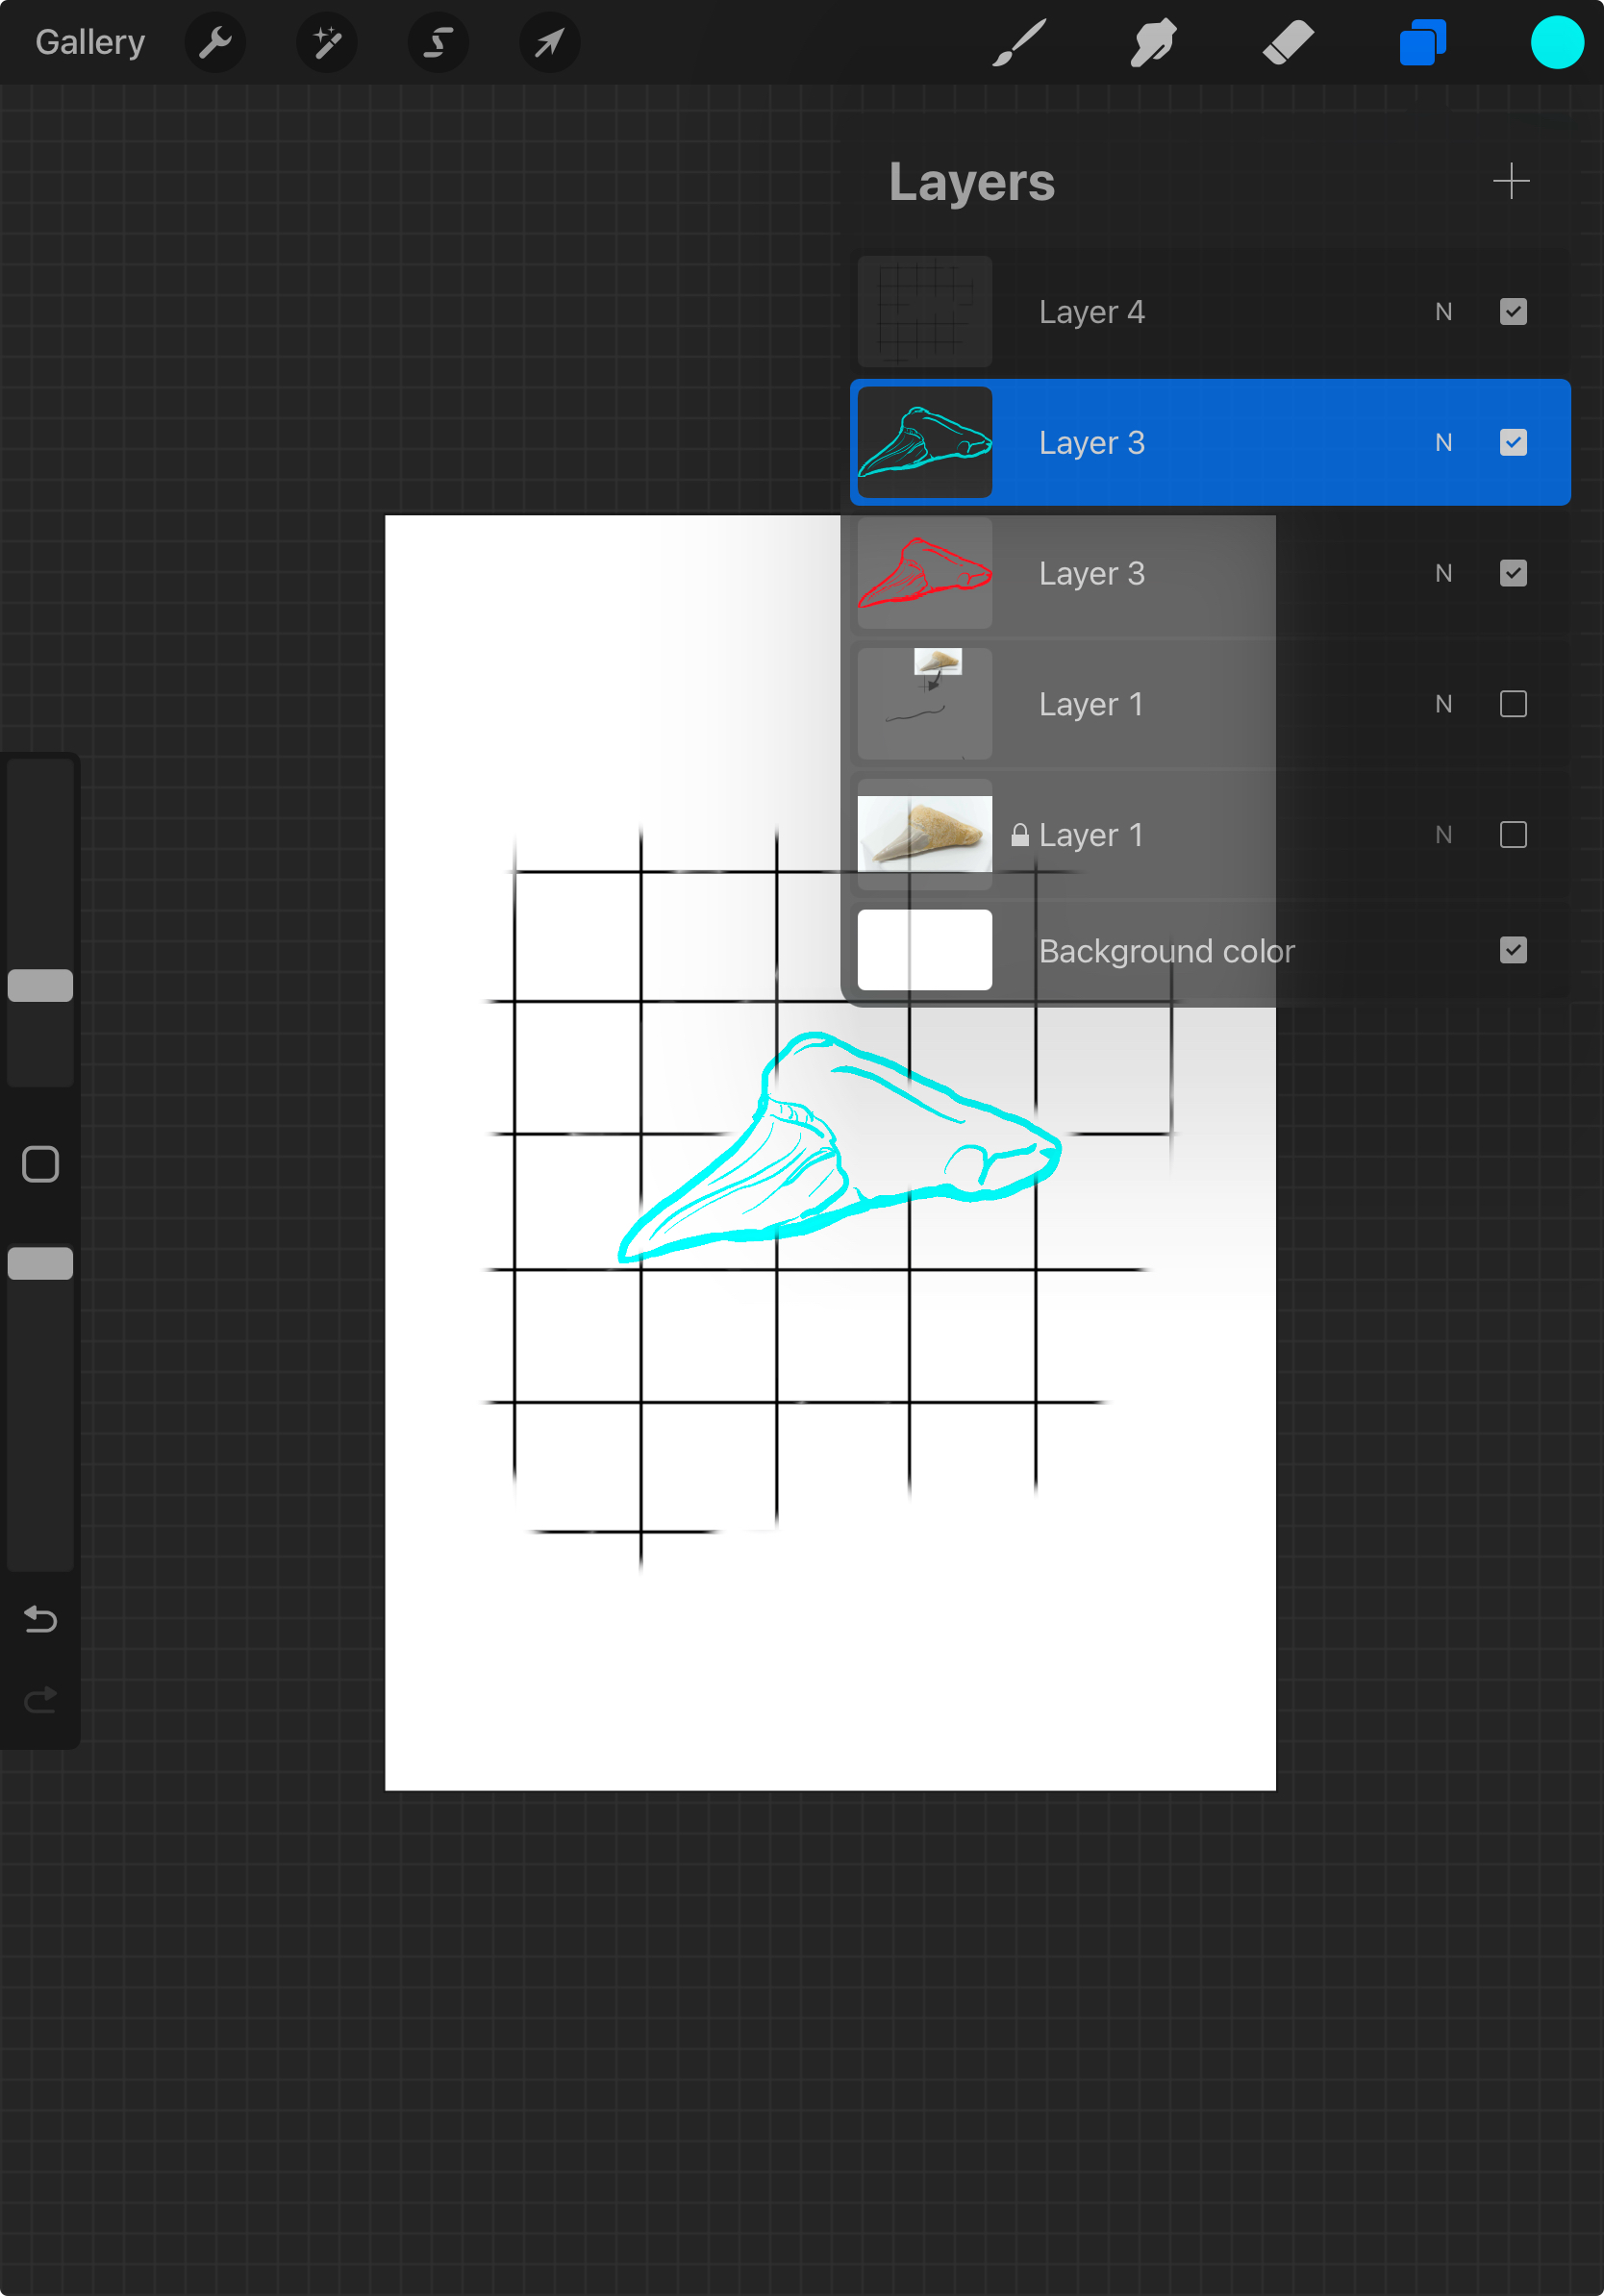
5. Add a layer above each of the line art layers. Fill the layers with colors - one red and one cyan (or green/magenta if that is your color pair).
6. Use the clipping mask feature to create a red and cyan line art layer(s). Use the merge down feature on the fill layers to merge the line art and fill. Both of these options can be found by right-clicking on the layer.
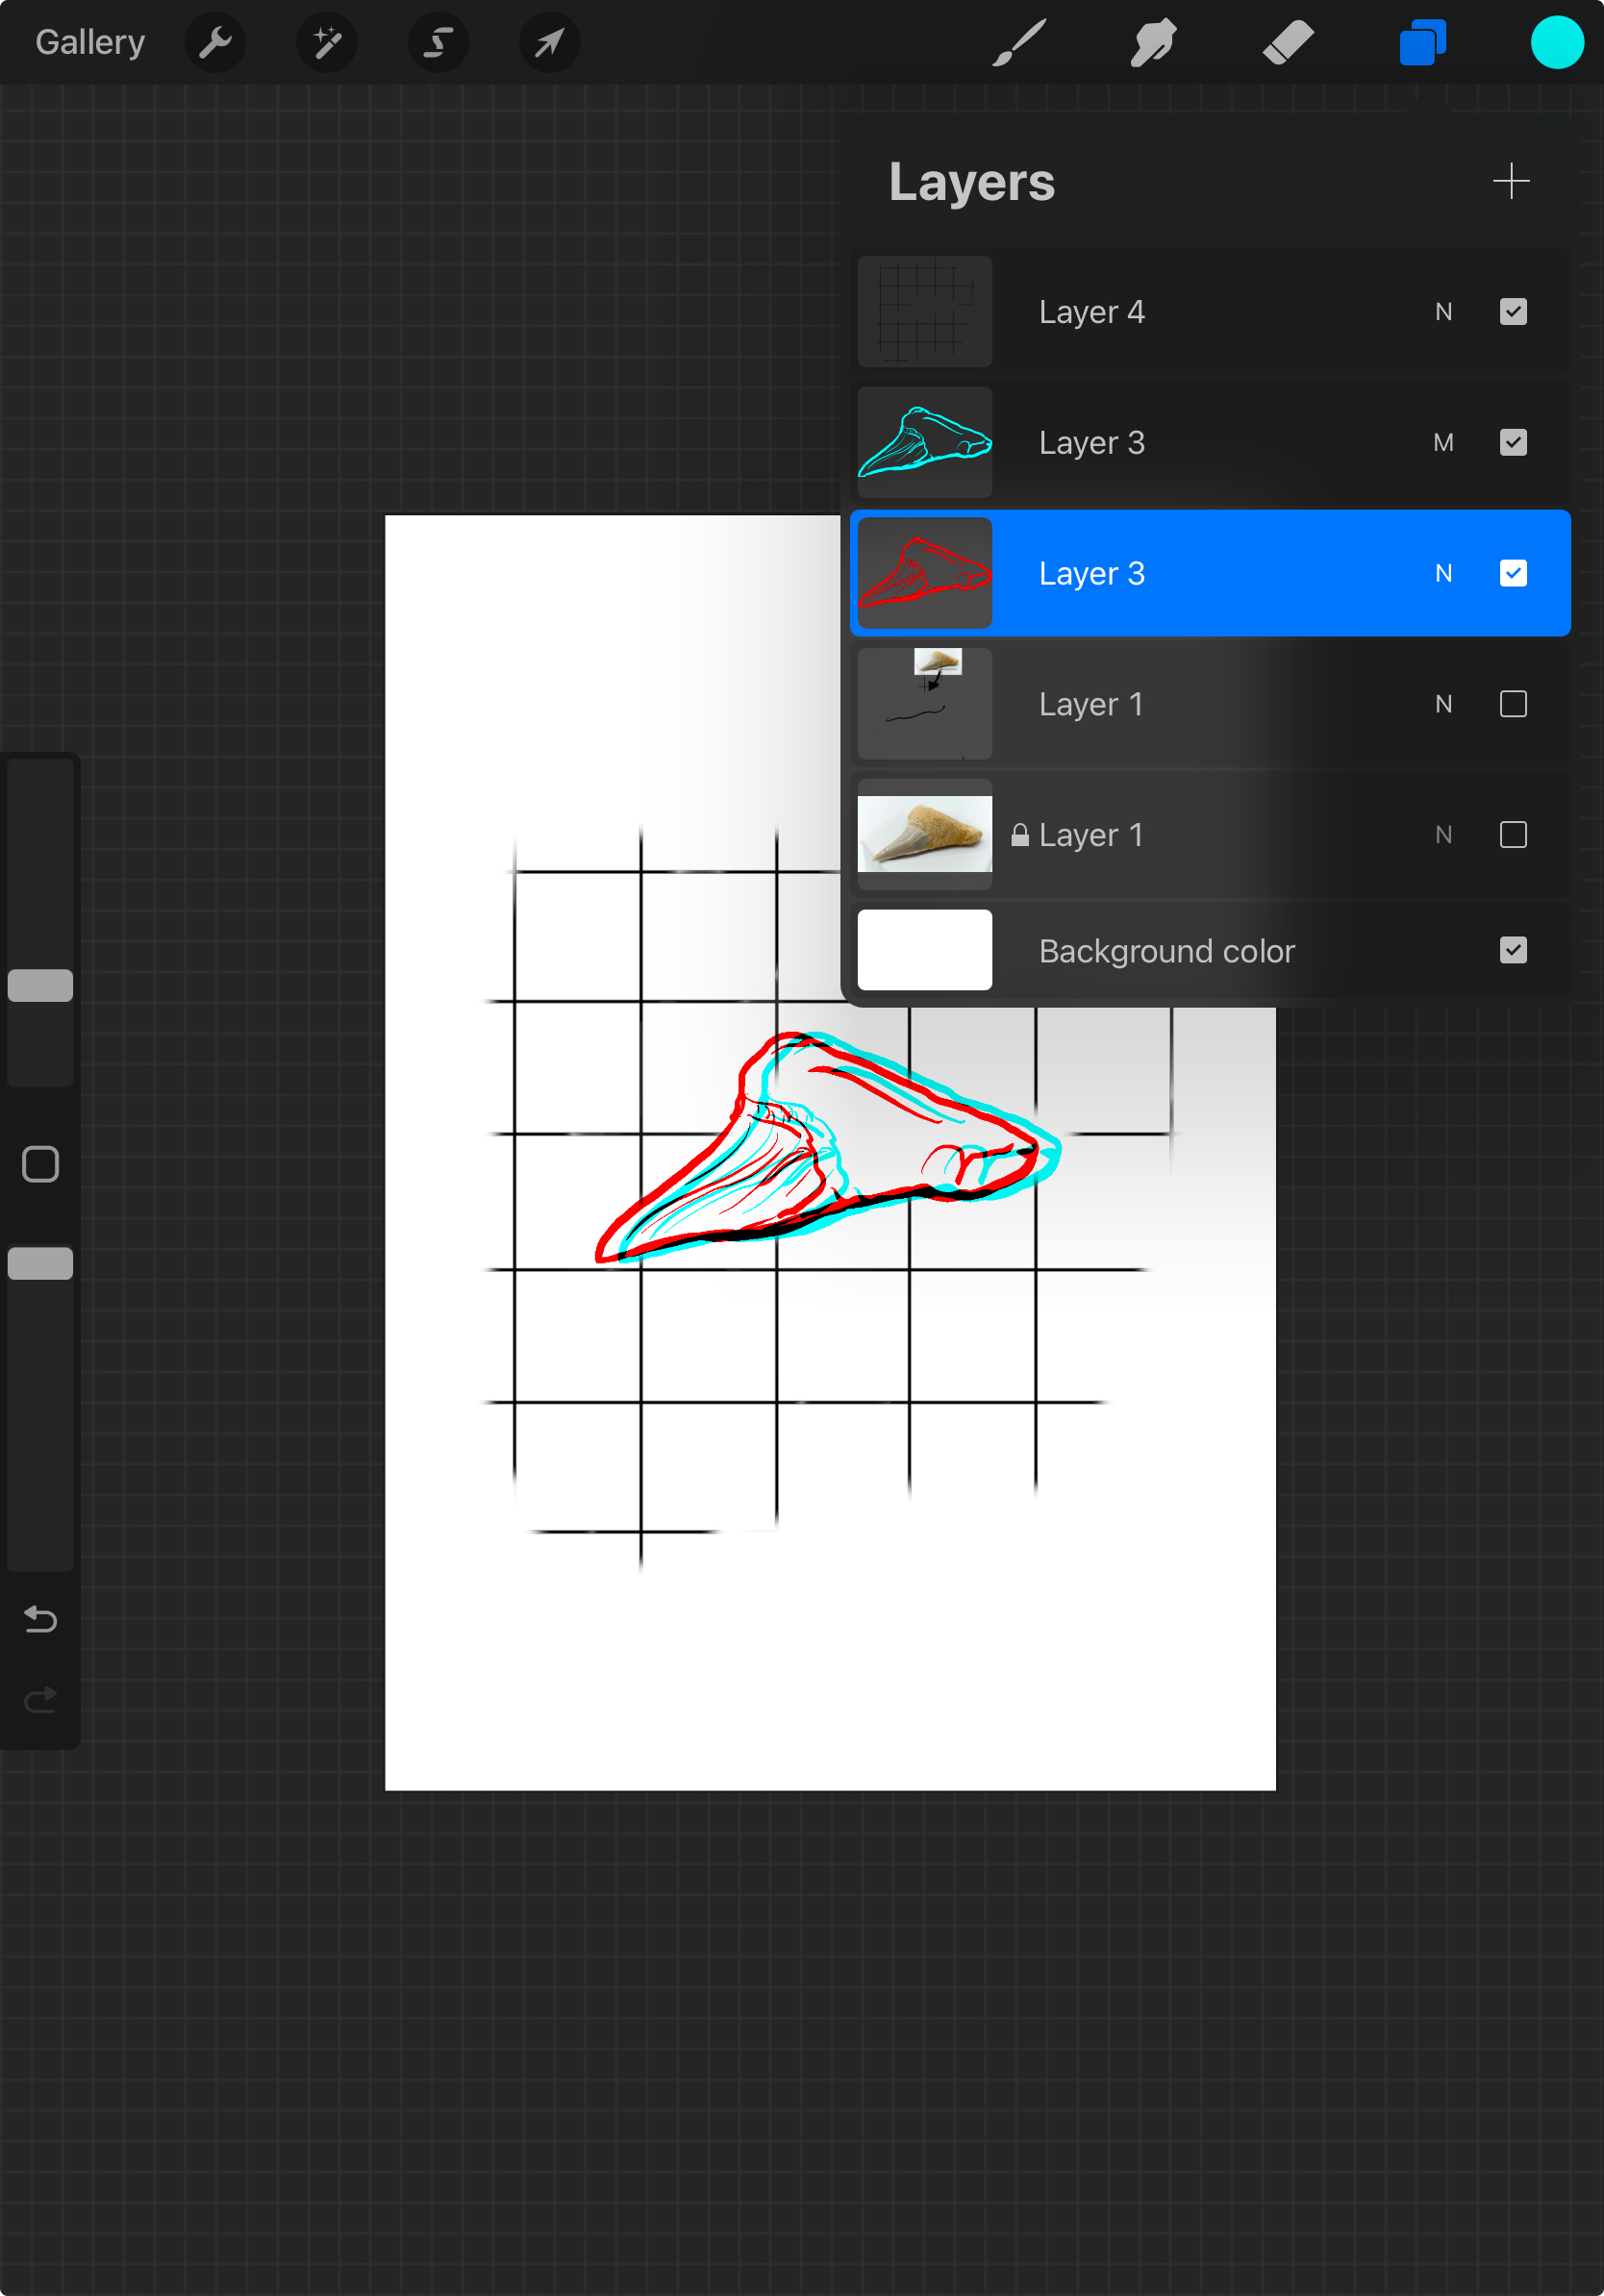
7. Displace the red and cyan layers from each other.
8. Change the blend mode on the top layer to Multiply.
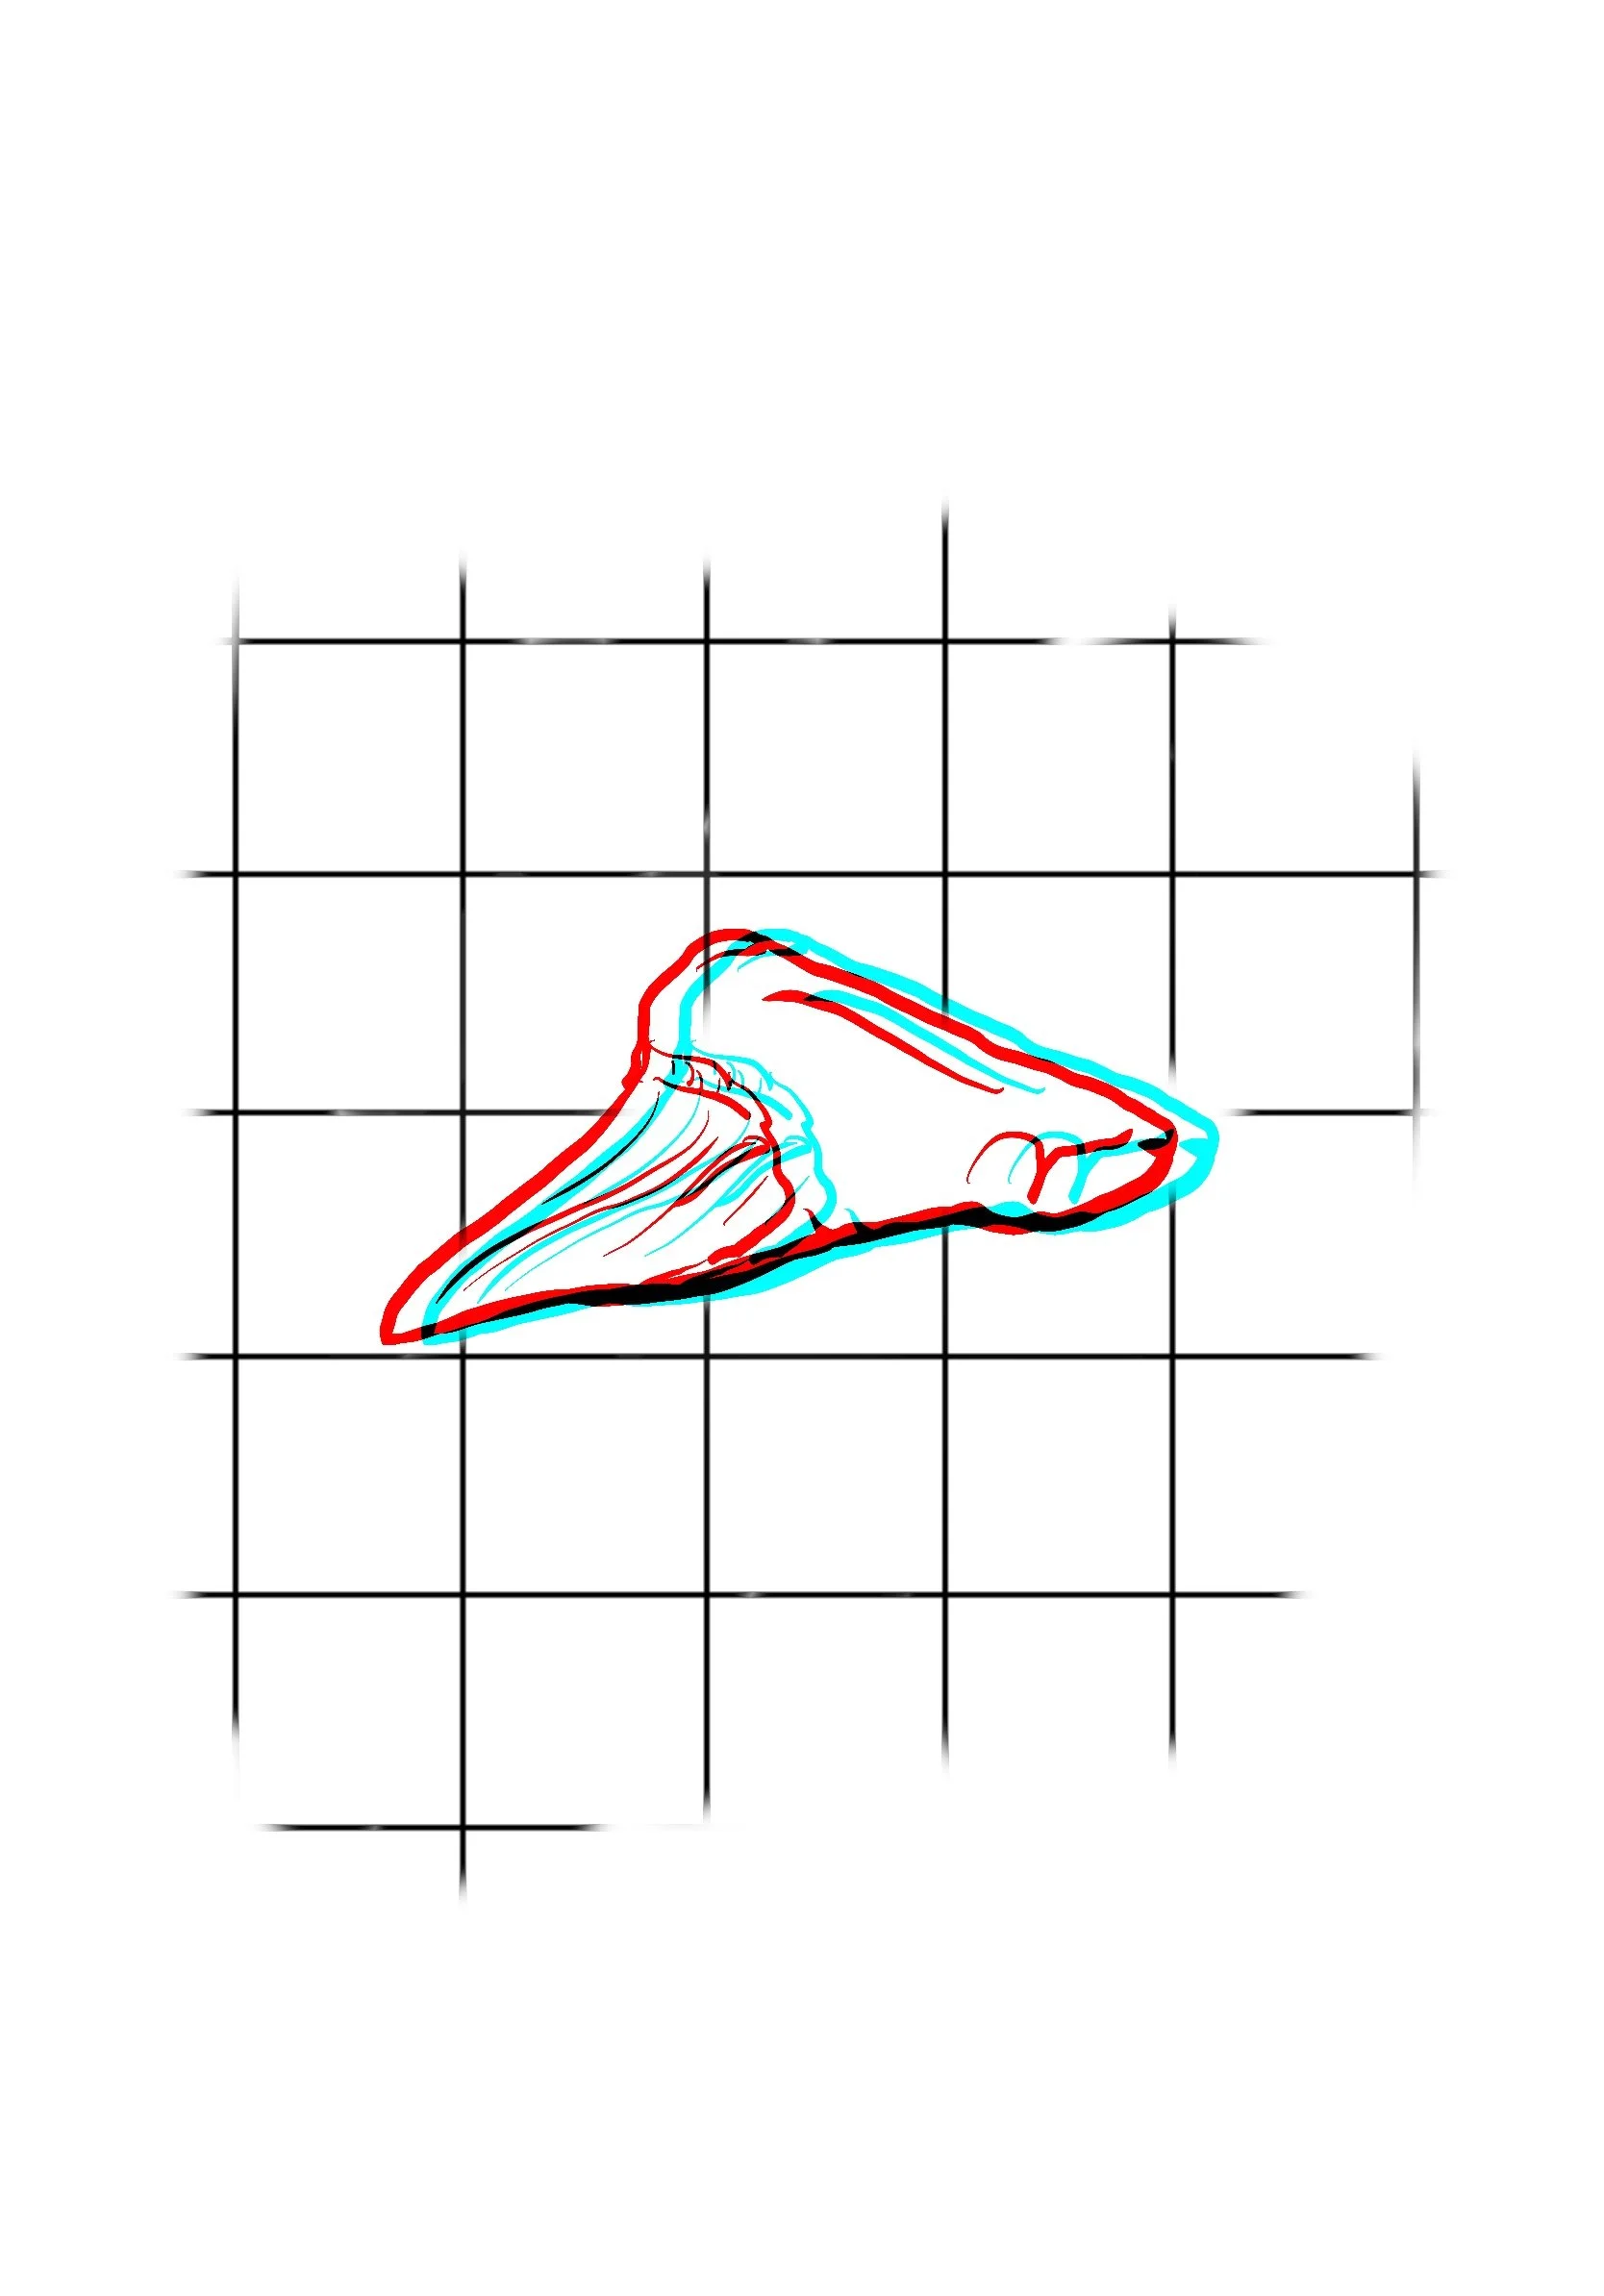
9. Show the background/anchor layer
10. Export the image and enjoy!
Next post: Using a greyscale image.


