More and Better Anaglyphs: B&W Photo
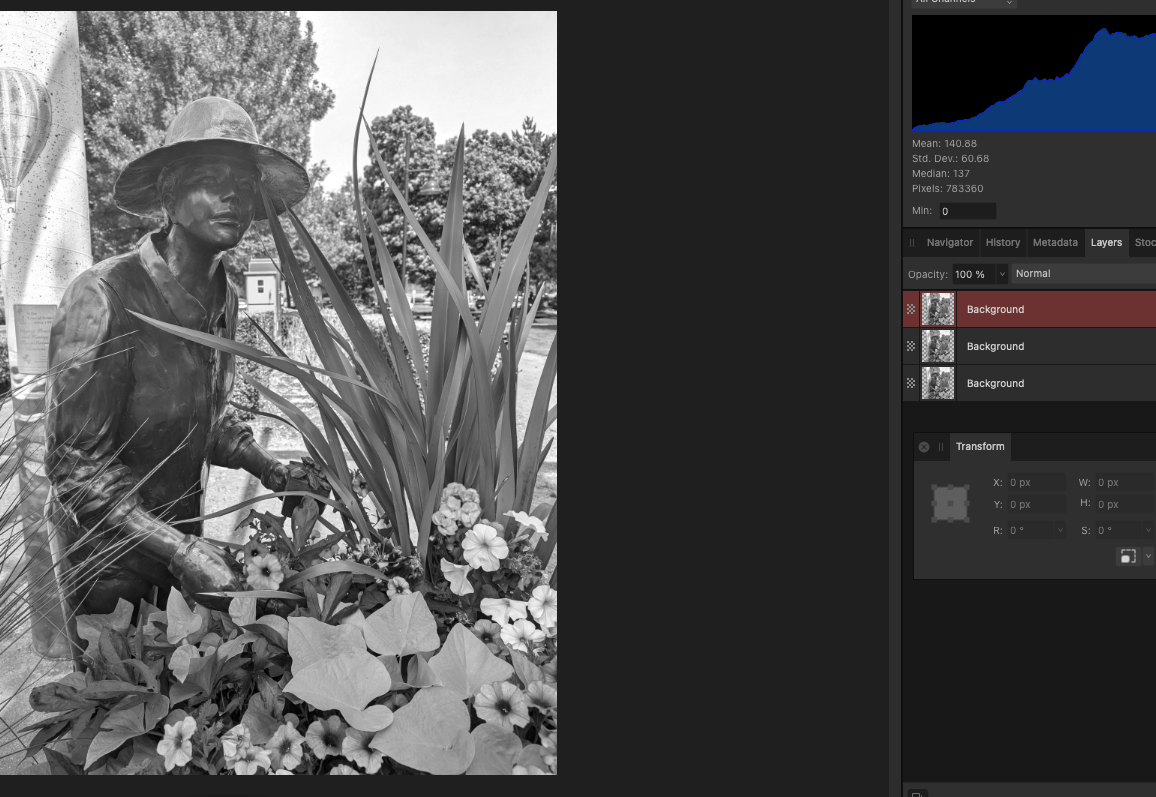
We’ll expand on the line art version by creating an anaglyph from a B&W photo in Affinity Photo. In this example, instead of using the relatively simple clipping mask, we’ll have to adjust the colors in the layers. This technique can be applied by almost any image editing program, but the exact steps of the process may vary between programs. The basic steps in all cases are: find the RGB color channels, make the necessary adjustments for each layer, select the appropriate blend mode, add displacement, crop unsightly edges, export and enjoy.
1. Open your black and white image, and duplicate twice. Lock and hide the original layer.
2. Select a layer. Under the LAYERS menu, go to NEW LAYER ADJUSTMENT and select CHANNEL MIXER.
3. For the RED layer, select the BLUE and GREEN channels and set their respective values to 0%. Leave RED in the RED channel at 100%.
4., For the CYAN layer, repeat step 2 on the remaining BW layer, but only set the RED option in the RED channel to 0%
5. Set the blend mode of the top layer to ADD. You should see a B&W image that looks exactly like what you started with.
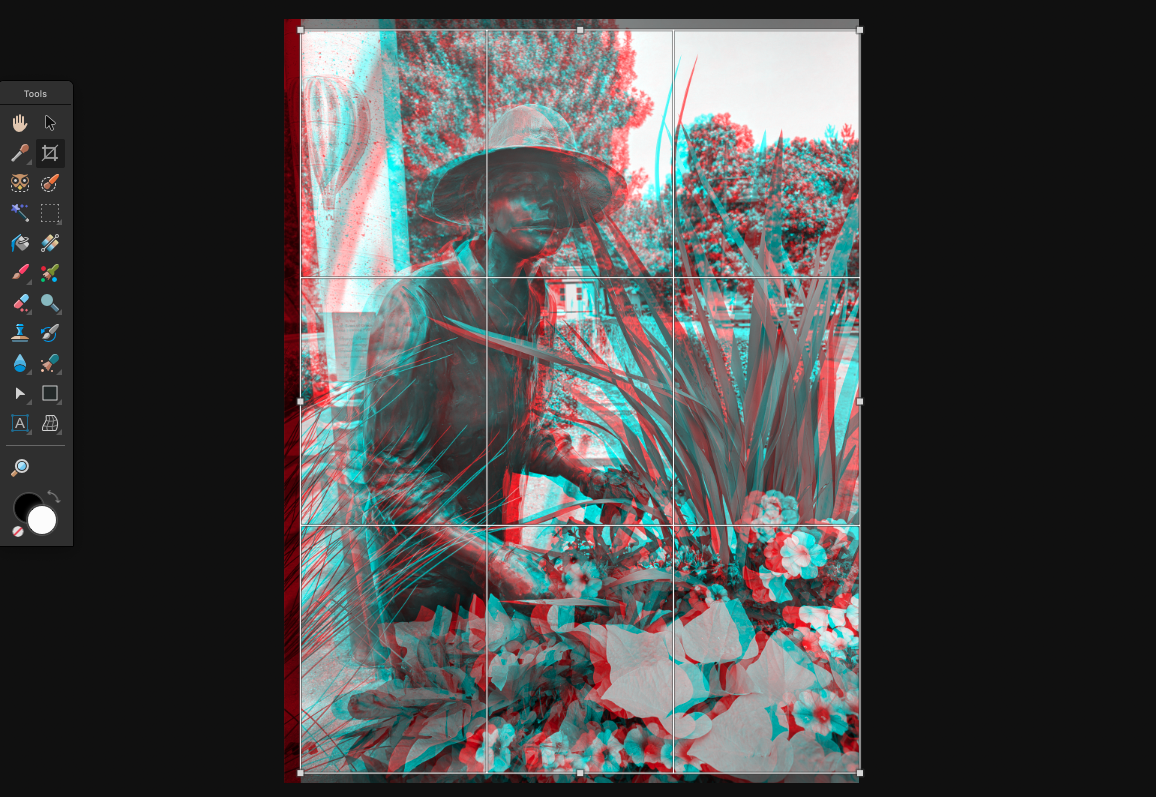
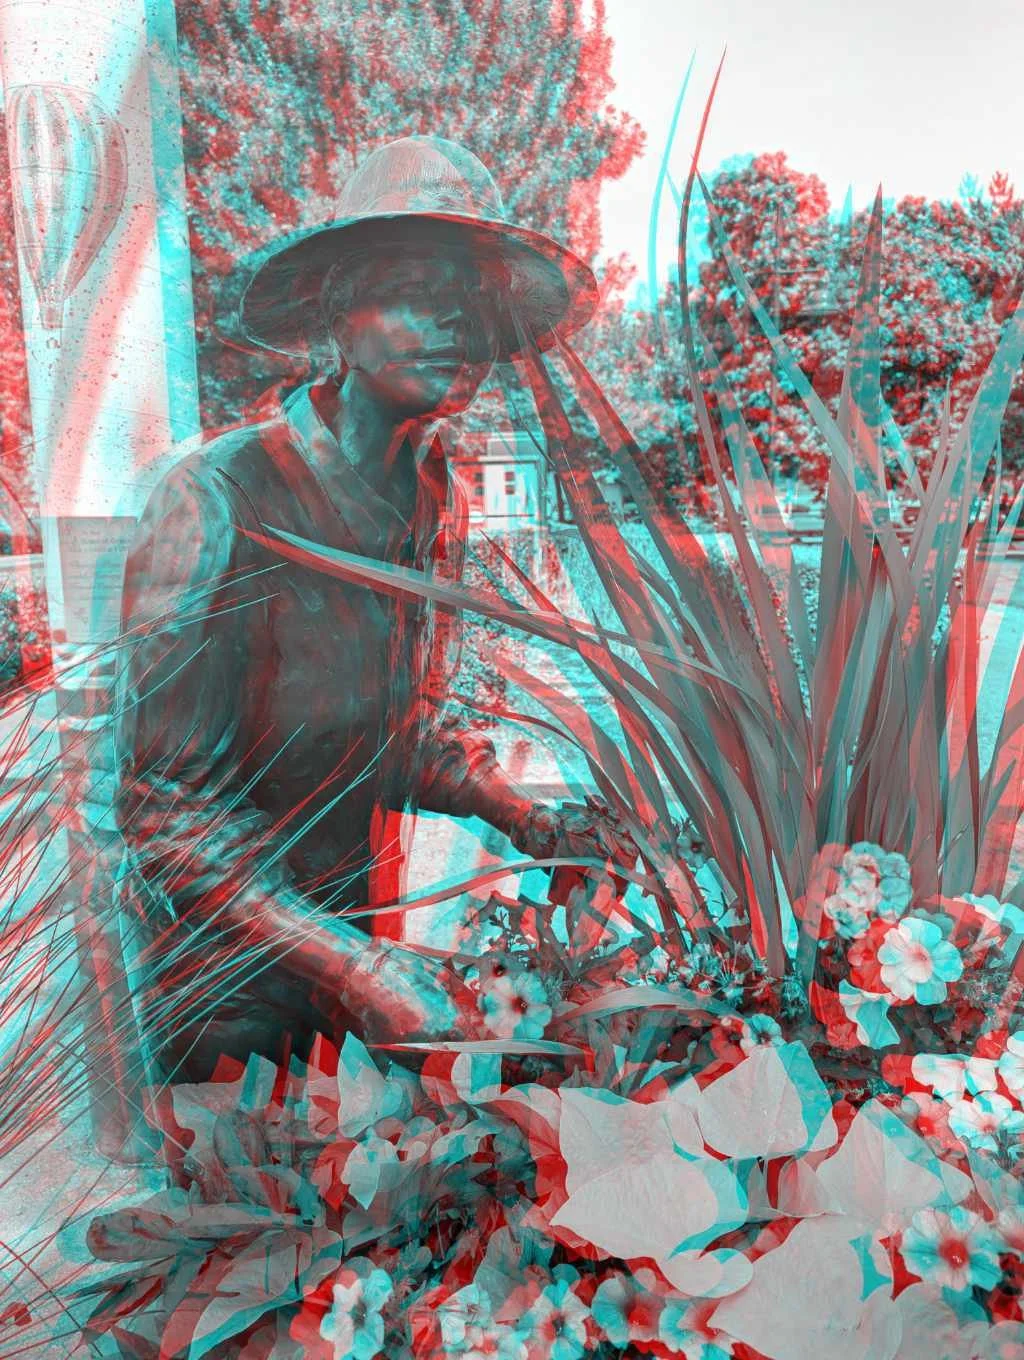
6. Create some horizontal displacement between the red and cyan layers. Crop the unsightly edges off.
7.. Export and enjoy!
We can do this once more with a full-color photograph, in the next post.


