

Make Your Own 3D Image
A while back on vacation, an AirBnB left out this coffee table book:
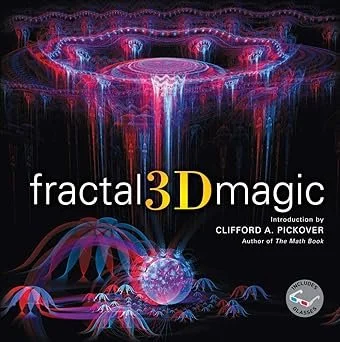
…and I was obsessed. These two-color offset 3D images are called anaglyphs. They work by layering two slightly offset images, one printed in red and another in cyan (there are a couple of other color pairs that work just as well). The viewer needs a pair of colored filter glasses, where each eye filters for one of the two offset images. This is a rough simulation of your 3D vision, where each eye sees a slightly different view of the world, and your brain knits them into your 3D perception.
Anaglyphs were THE 3D technology for almost a century. The first printed one was made in 1891 and quickly followed by moving images. The same basic idea was used in 1983 for JAWS;3D. It wasn't until the 2000s that the color-separated 3D technique was replaced with a polarization-based system that was a better viewing experience. But movies or TV, color-separated or polarization-separated, as much as people THINK they’ll love an immersive 3D experience, it always comes off as gimmicky and never sticks around long. I probably should have thought about that before spending a few years working in R&D for VR headsets.
And I thought, if it’s tacky and gimmicky and over a century old, shouldn’t we be able to do it at home? And the answer is yes. It can be done in many ways, some easier than others. The simplest way is to make a simple offset so that some features of the image “float” or “recede” compared to non-offset features.
We’ll want to do this digitally, rather than hand-drawing. One of the biggest problems with all 3D viewing systems is that the brain does a lot of work turning our eye’s input into 3D perception, so when you are mimicking this process there are a thousand ways to screw it up resulting in viewer discomfort. We want our two offset images to be perfectly matched pairs, and the easiest way to achieve this is with copy and paste. This will result in the most comfortable viewer experience we can manage.
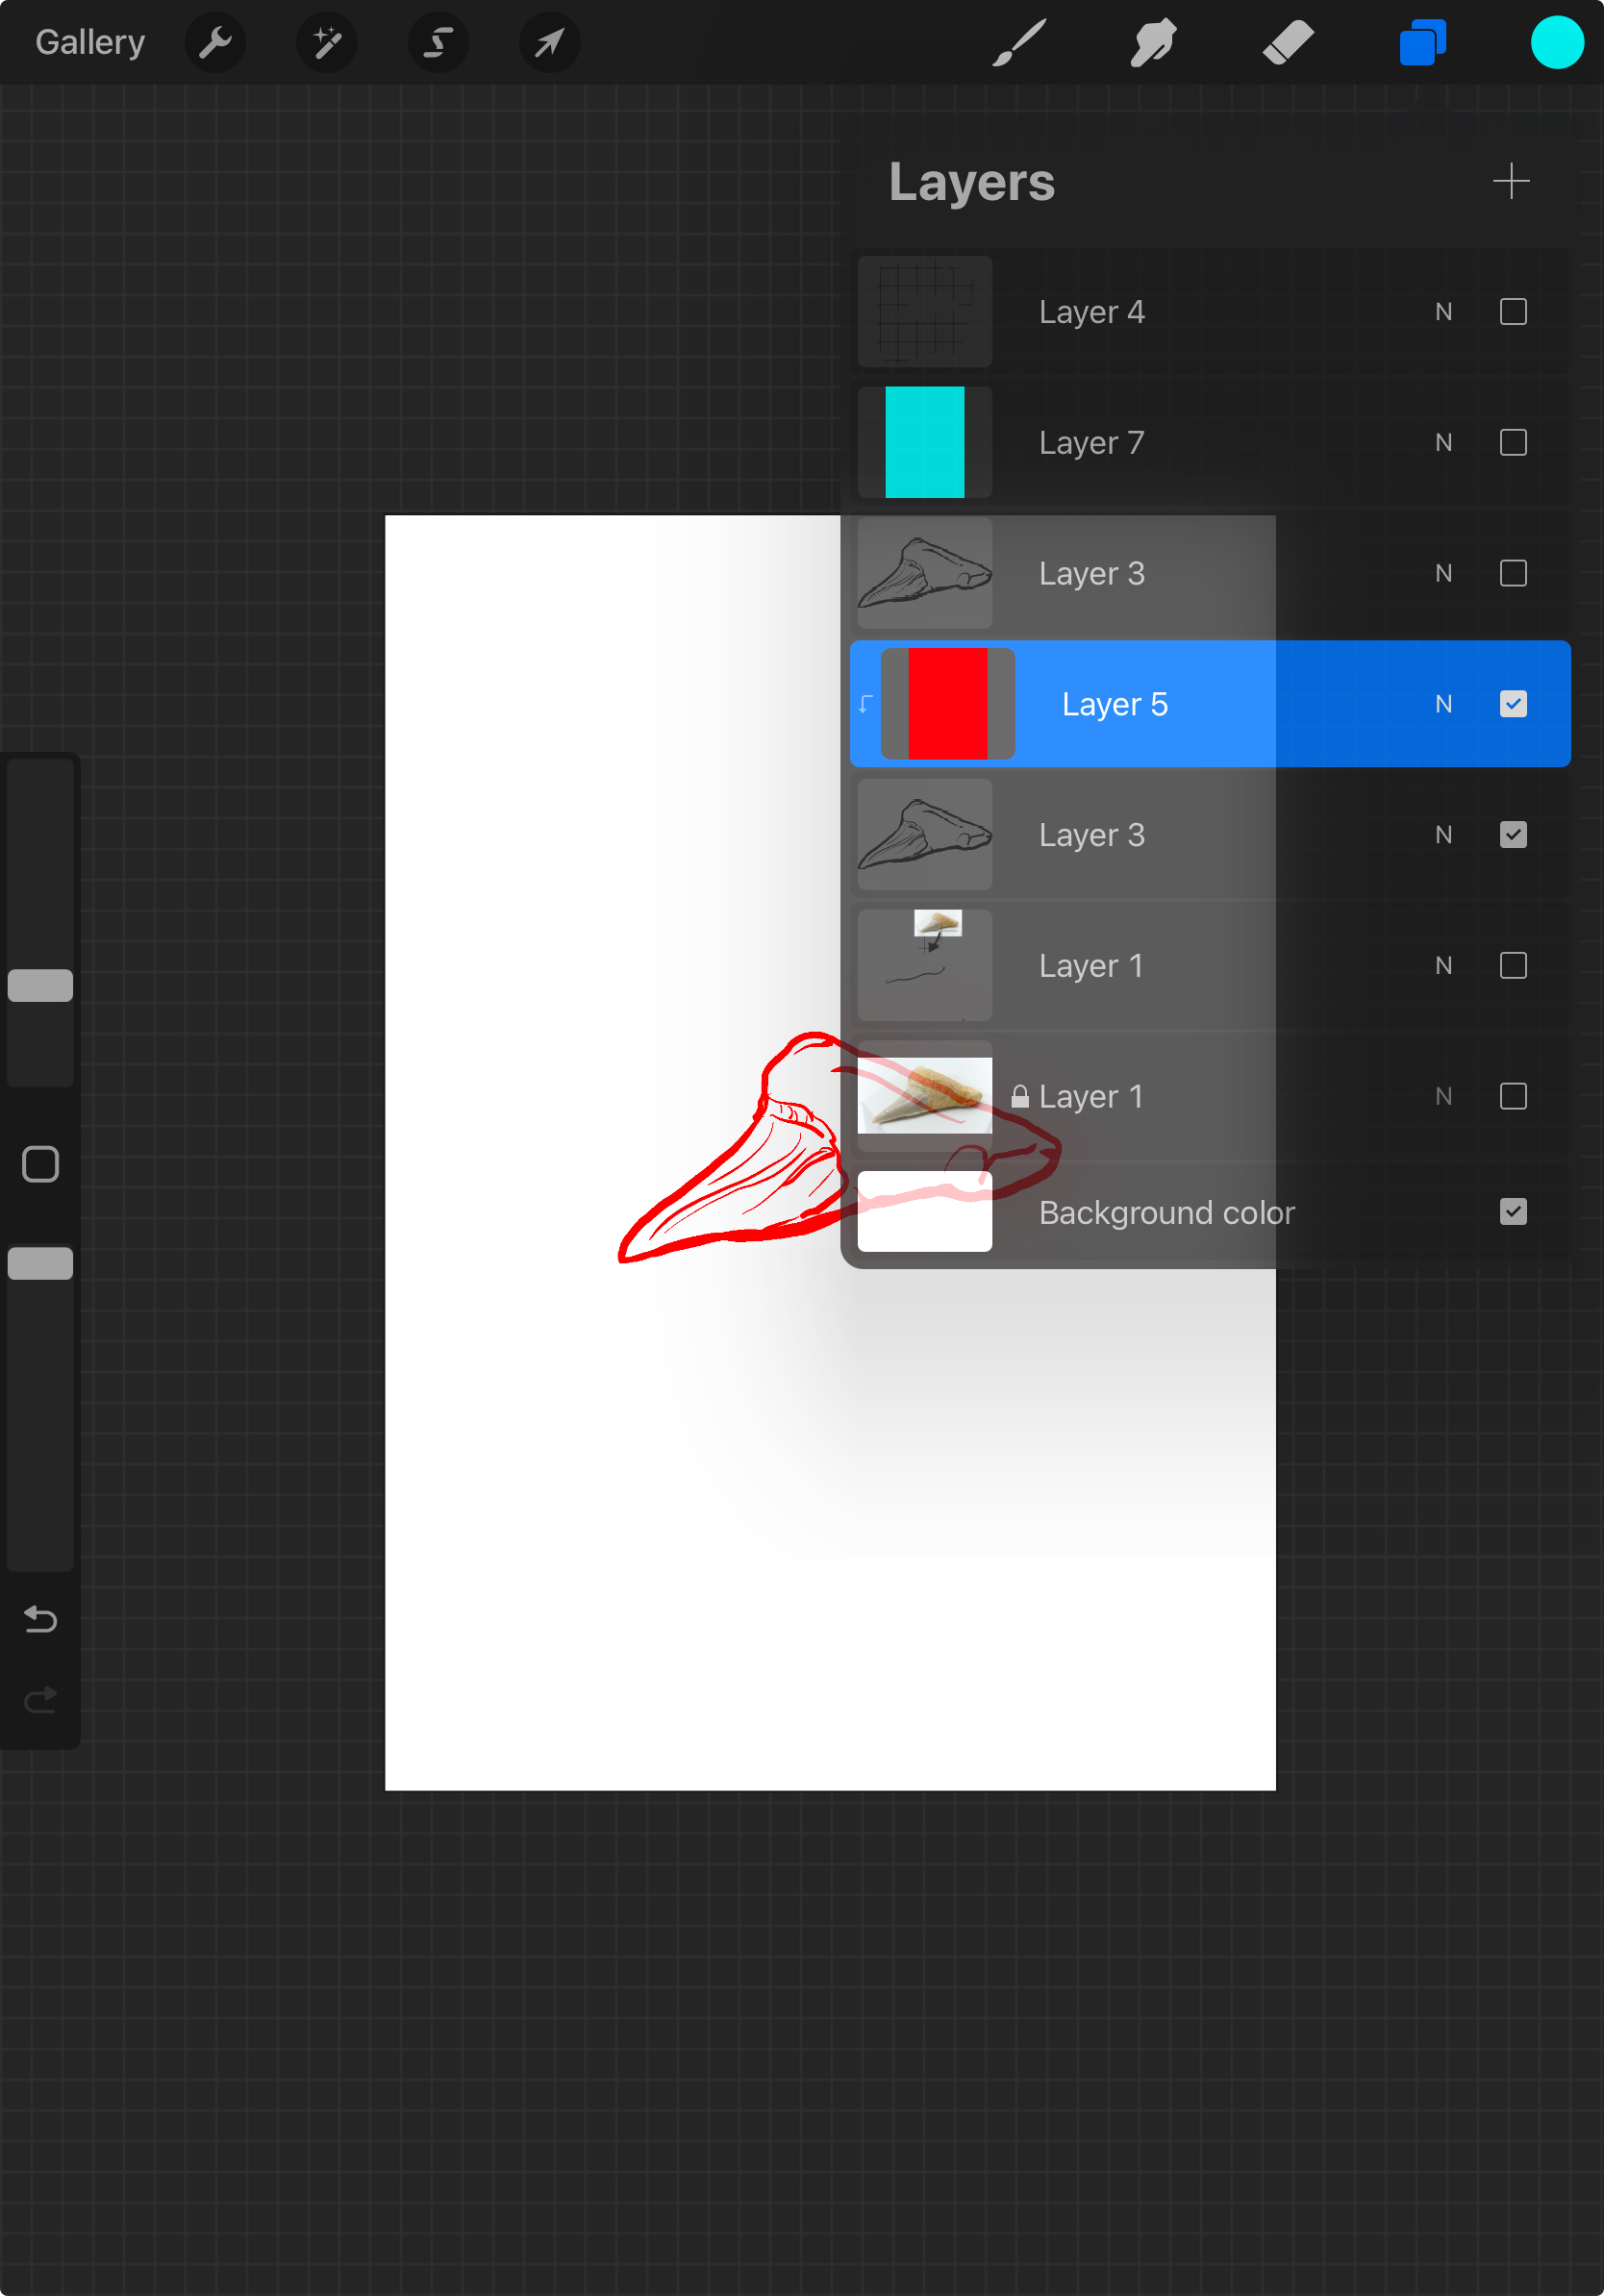
Text makes a good first project. Using a program that supports layers (Adobe Photoshop or InDesign, Affinity Designer or Photo, Procreate, GIMP, etc), make the first layer something simple to establish a reference point. I use a grey grid or something similar. On the next layer, write some word using a bold, easy to read font. Make that word cyan. Duplicate the text layer, and change this layer’s color to red. Move the red layer a bit to the left. Set the layer blend mode to multiply, so that the overlapping regions look black.
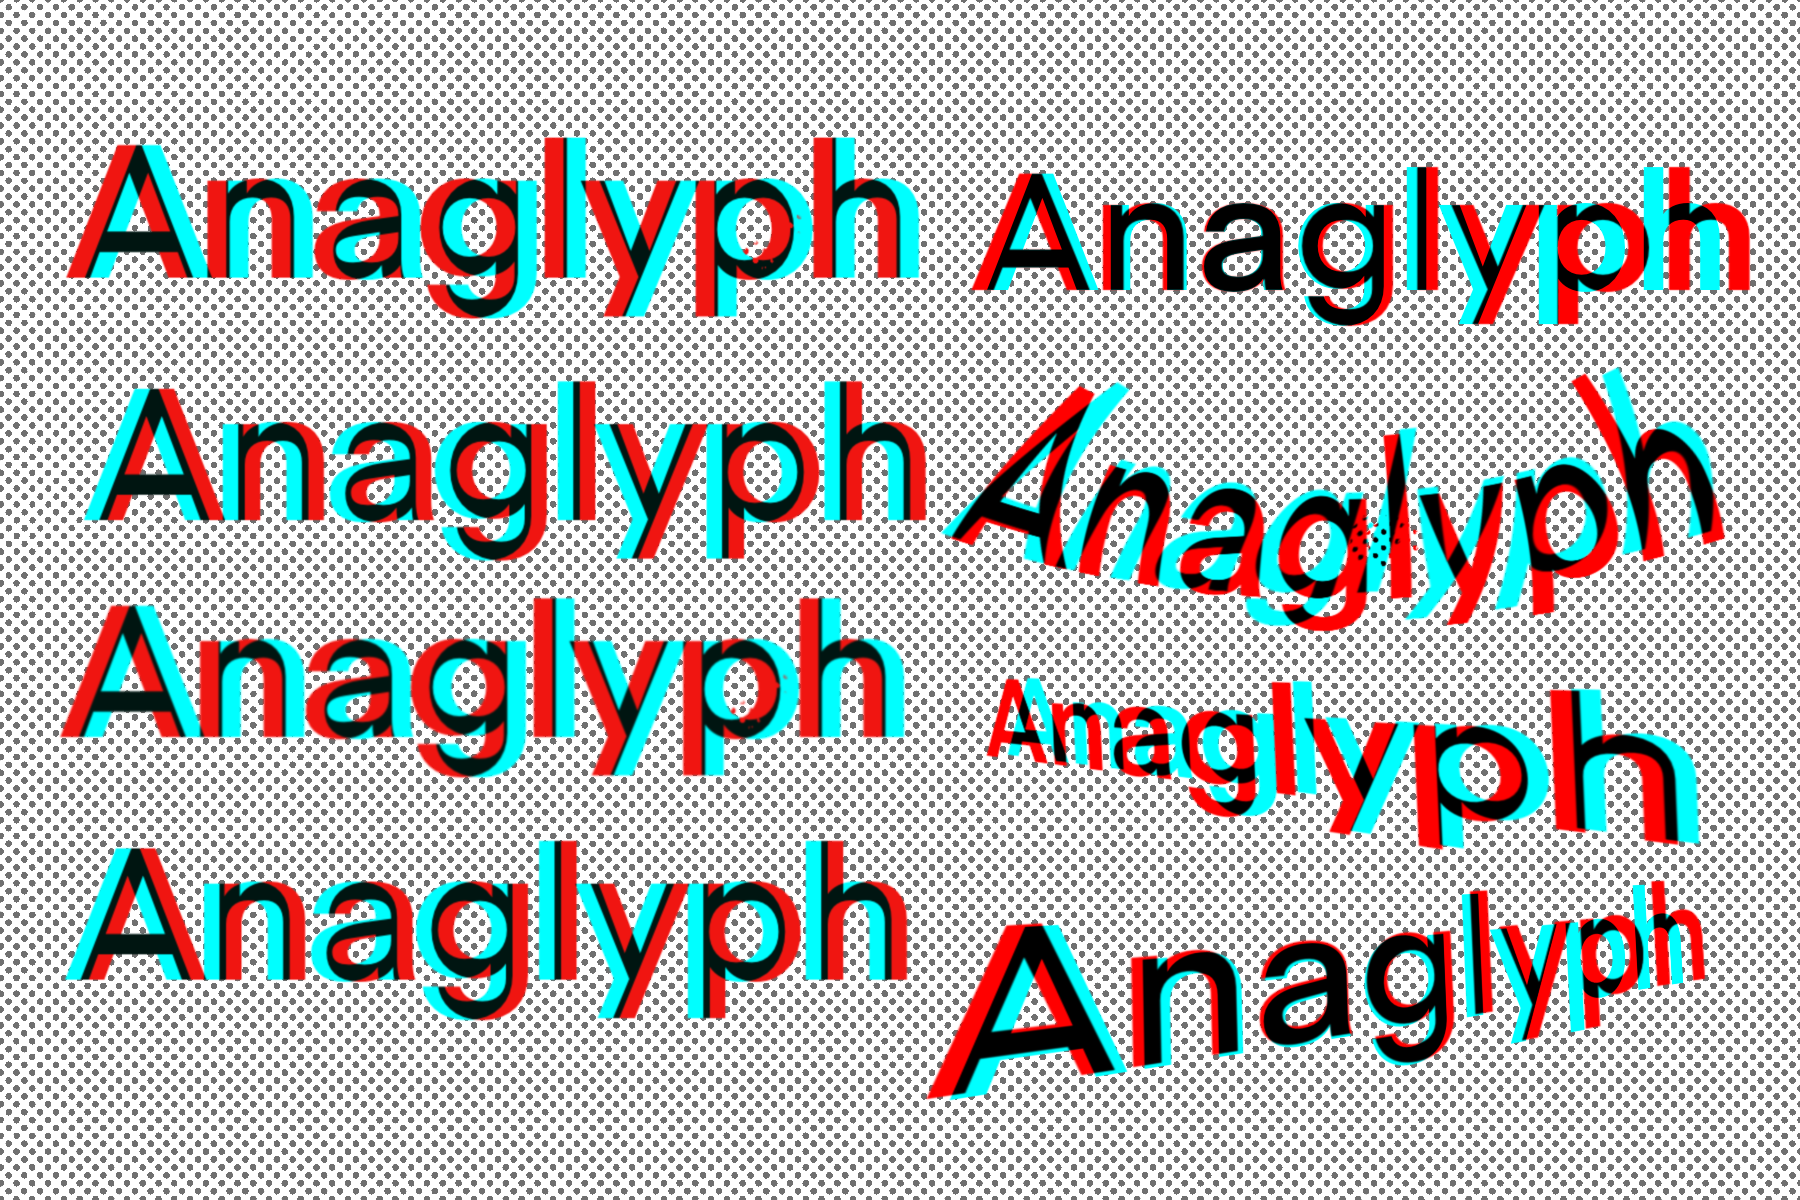
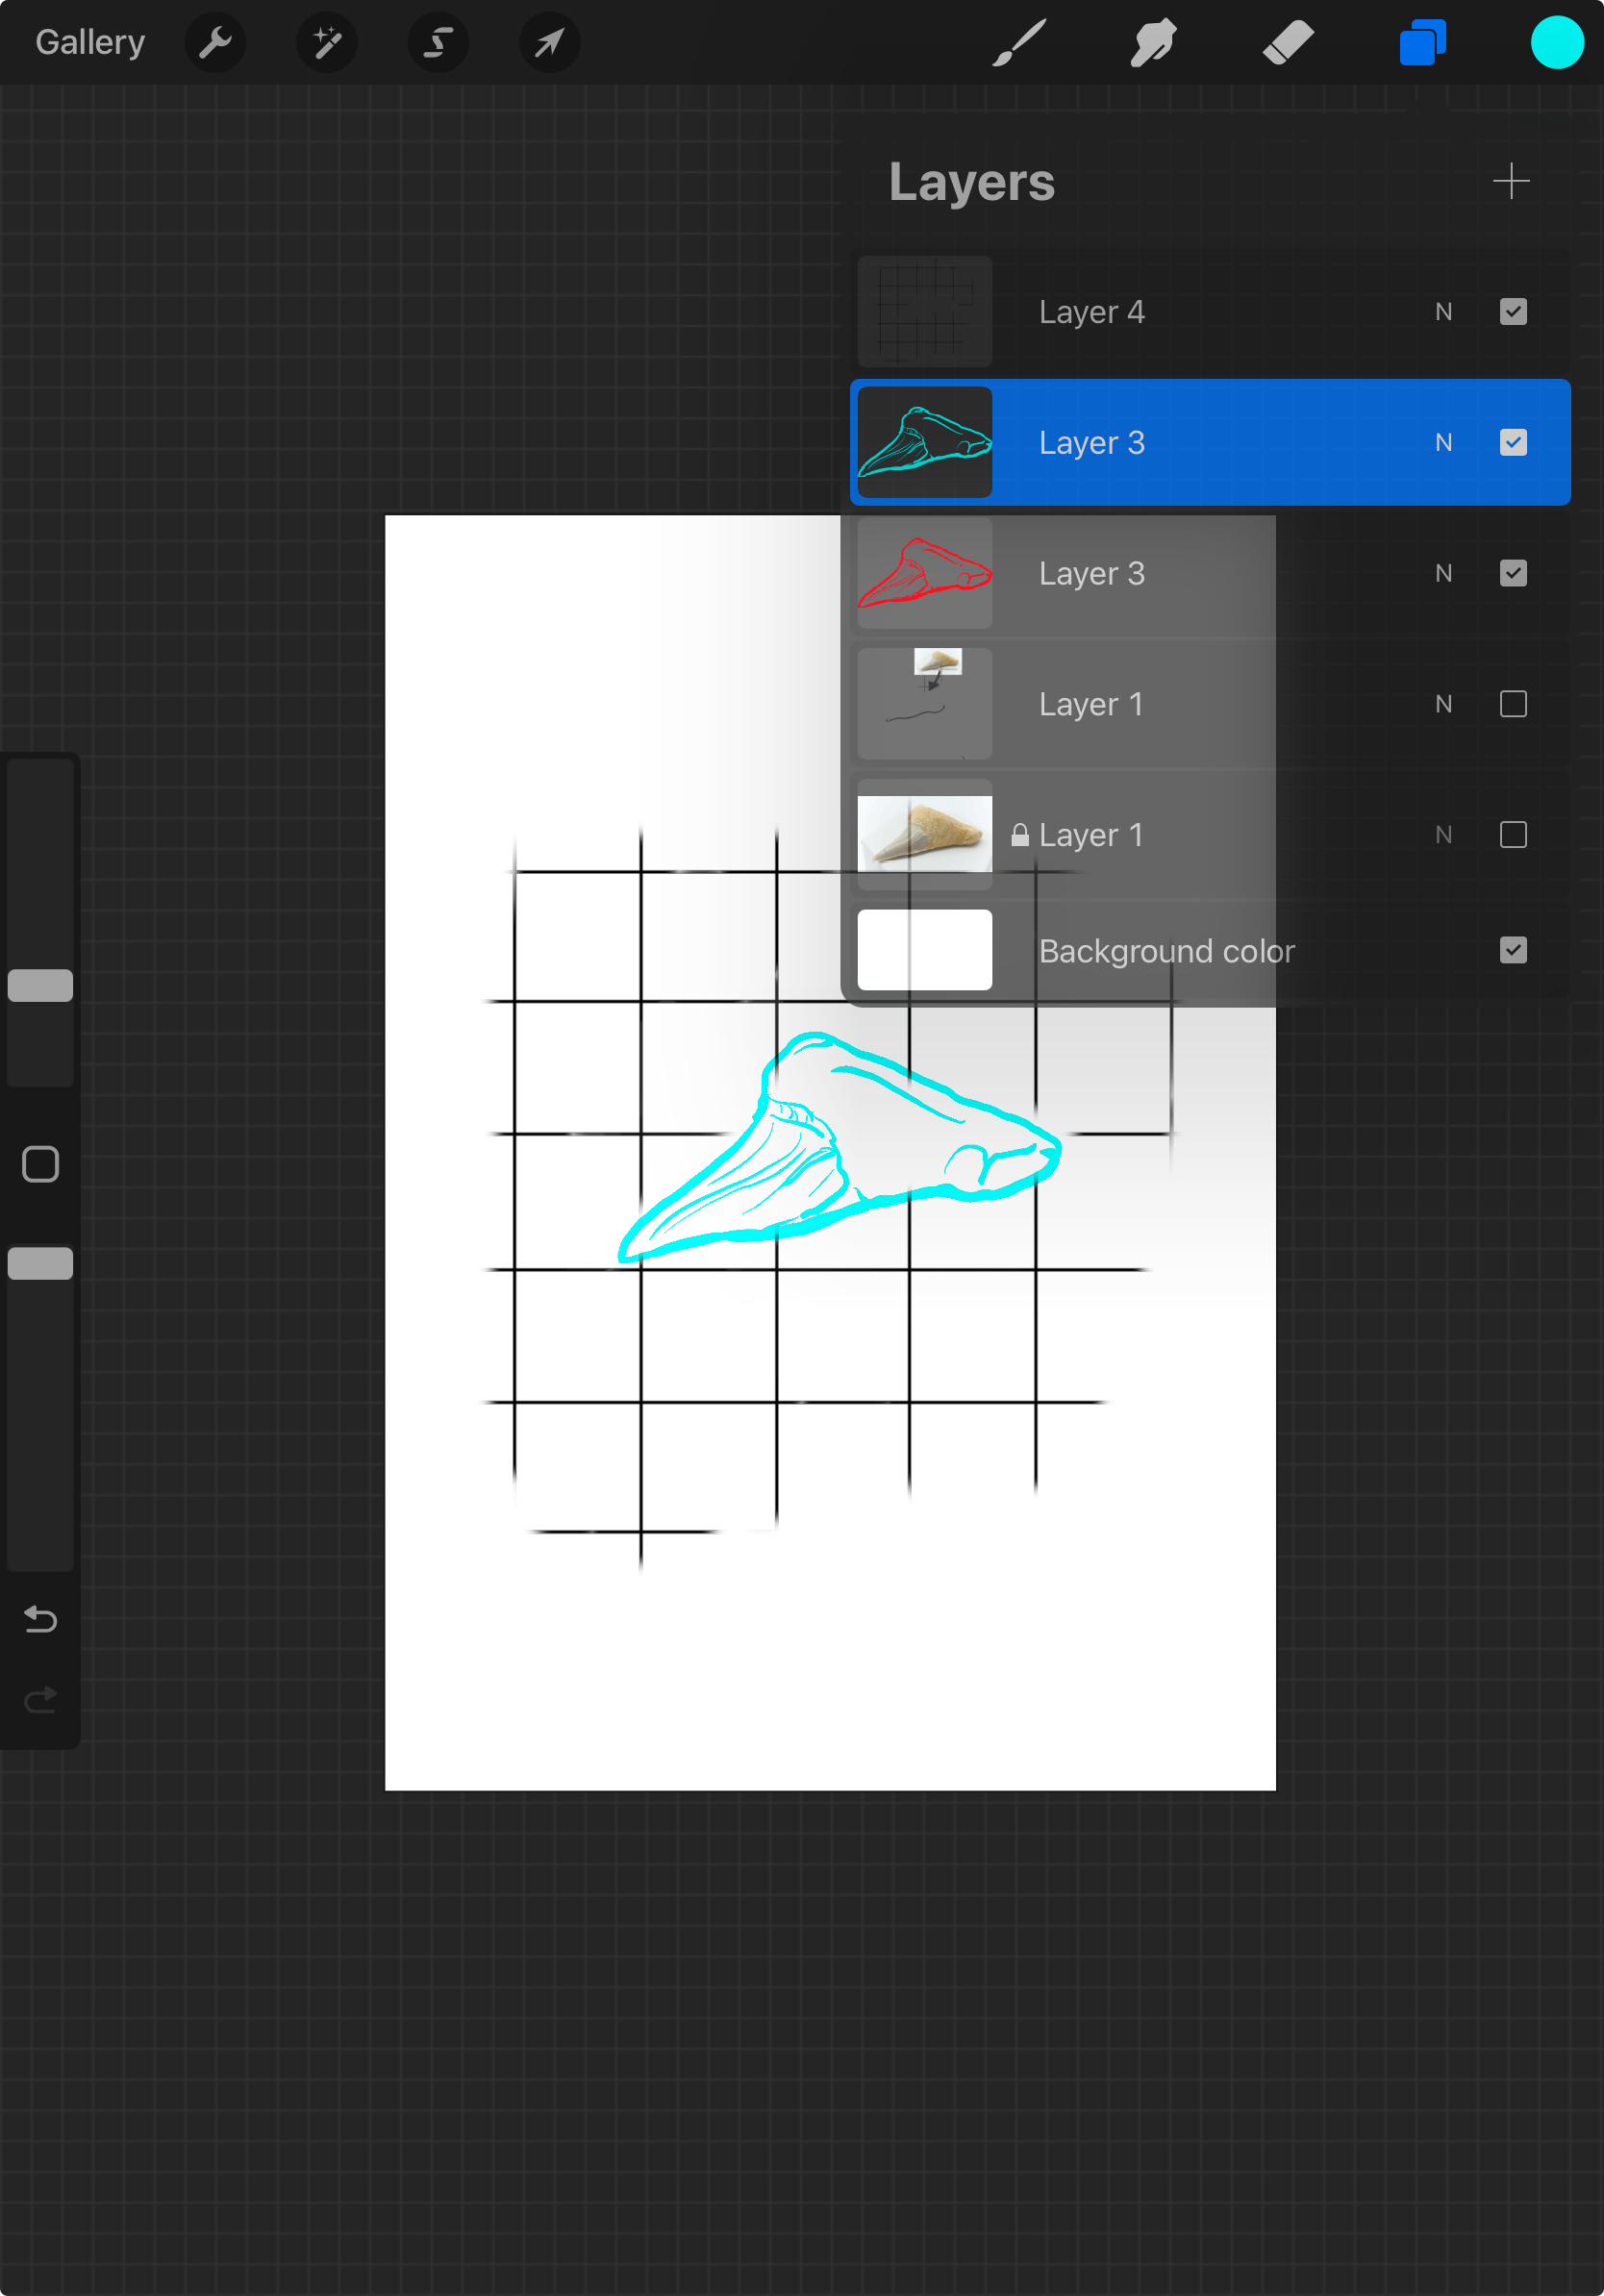
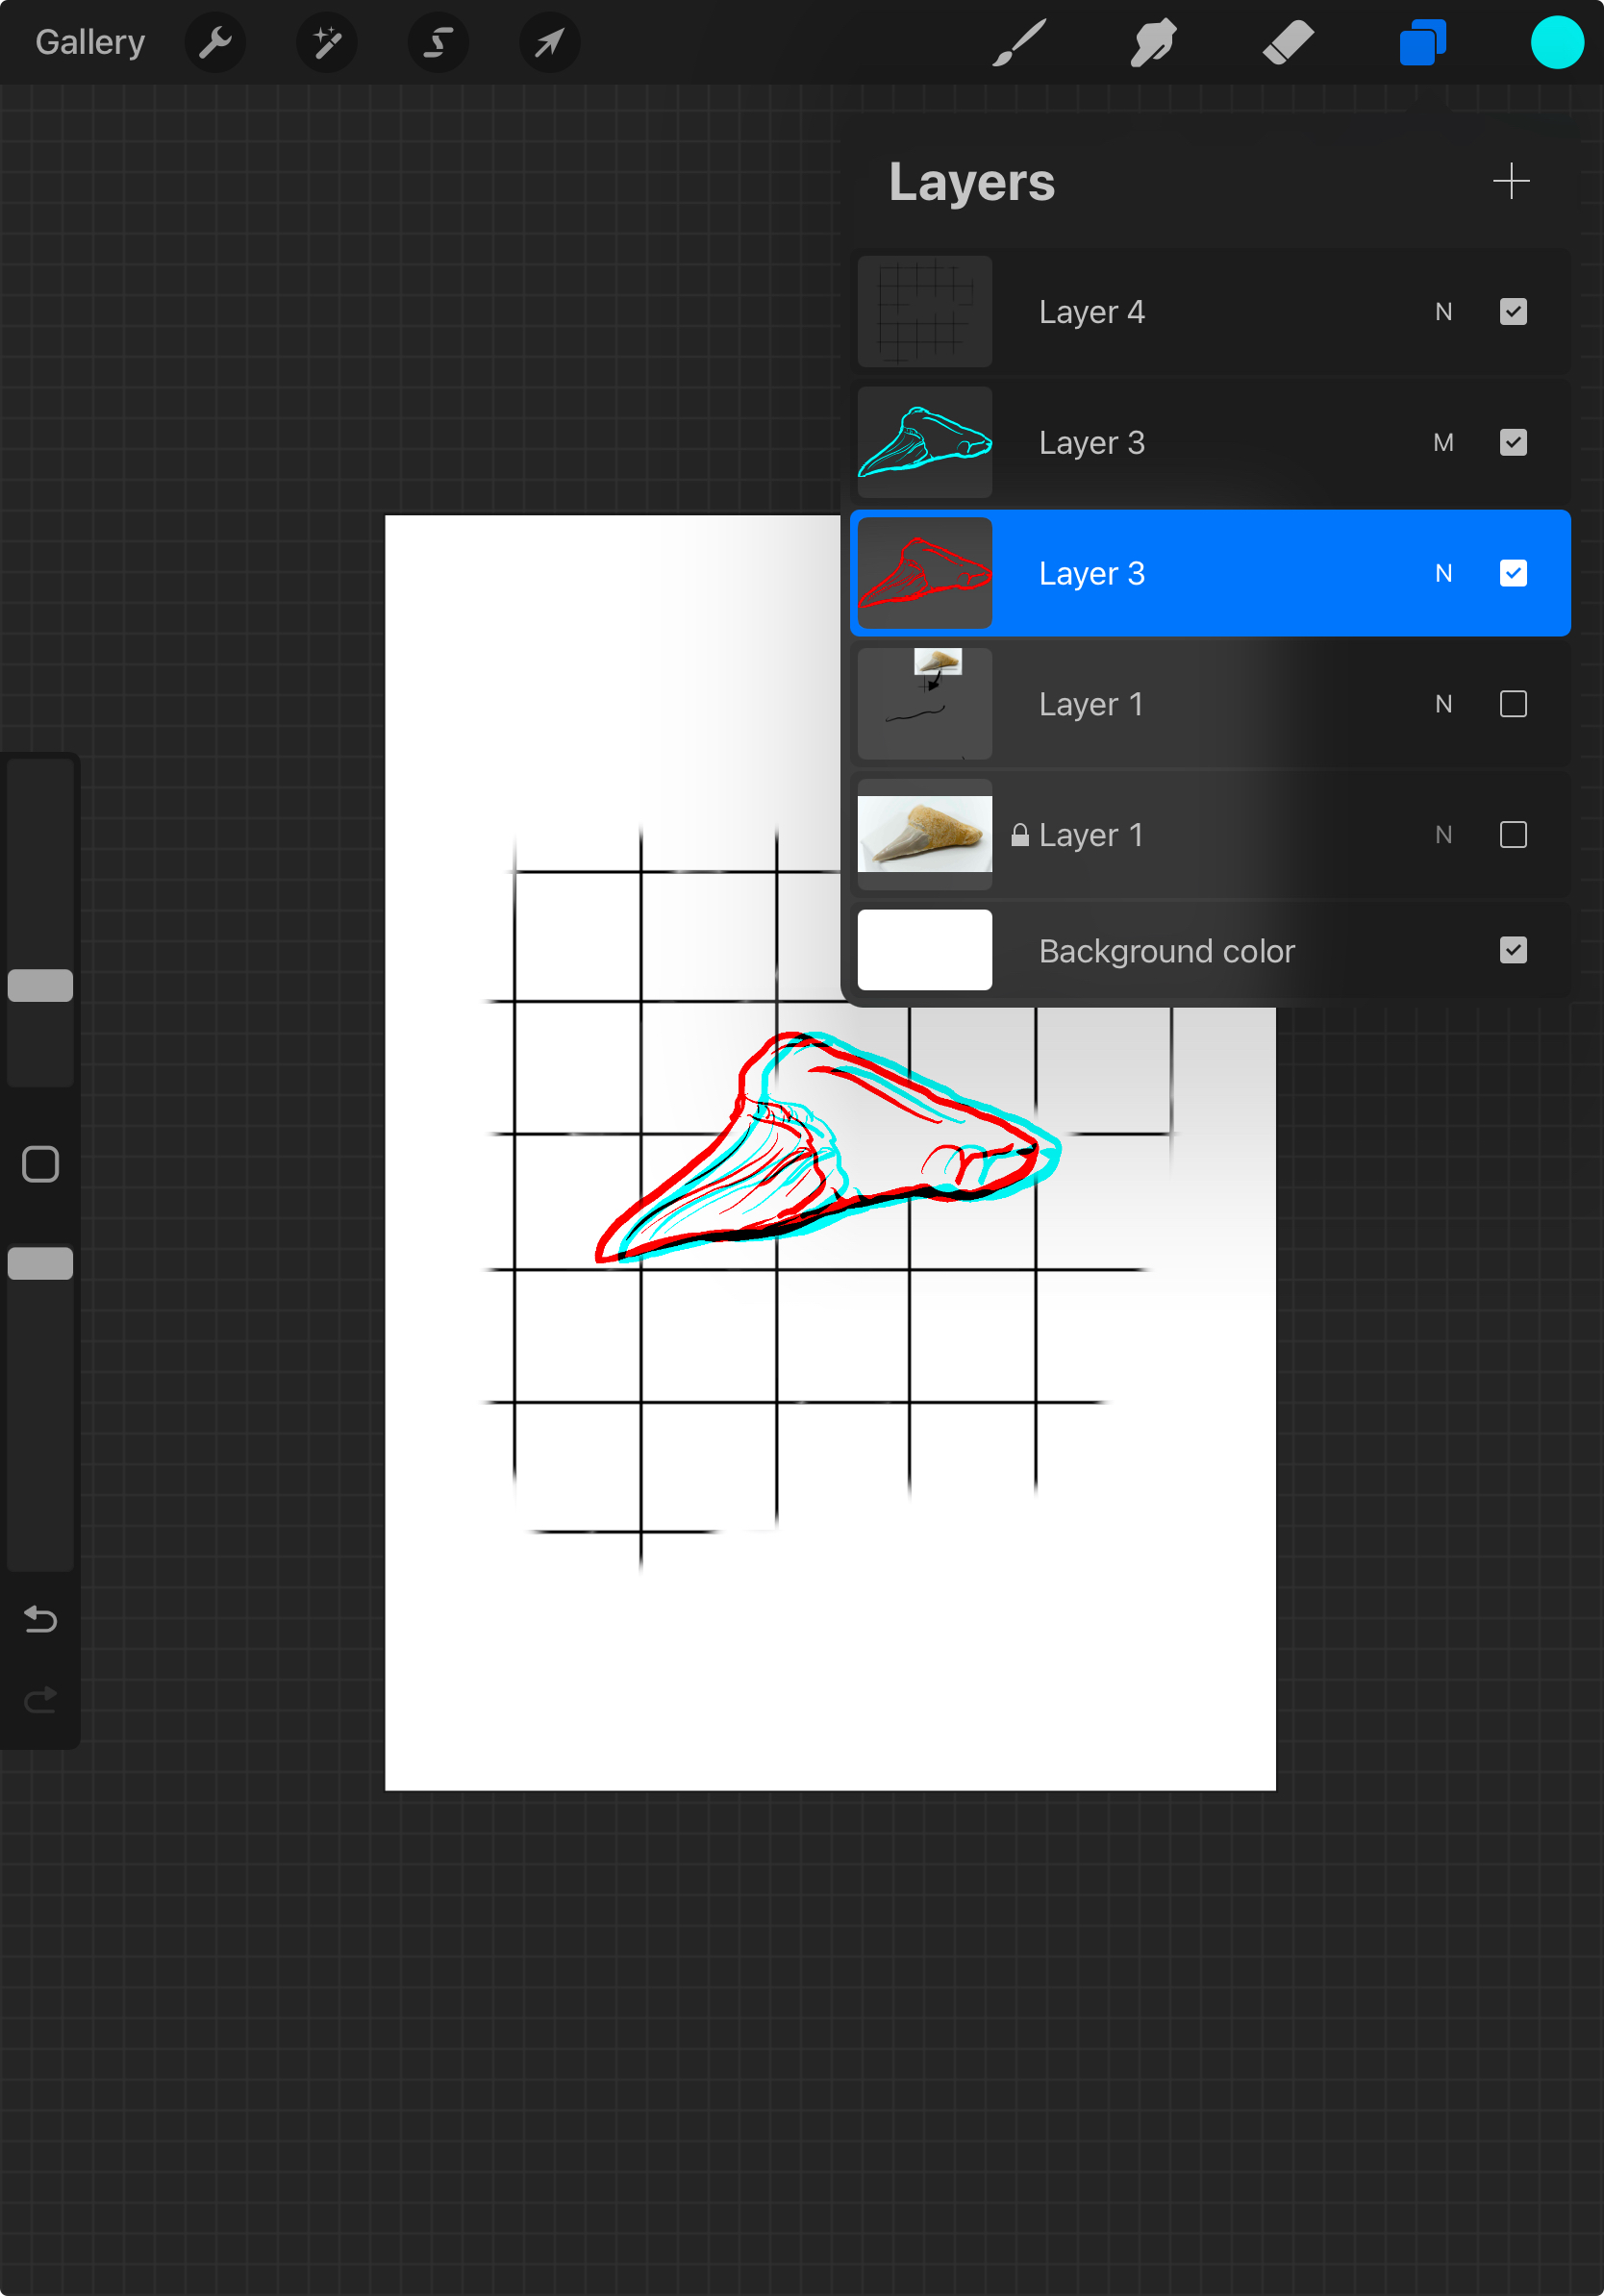
You can see from my text example, you have some room to play with things. Once you have mastered “word hovering above background,” you can play with the offset. The only rule is you should keep the offset along the horizontal, do not add a vertical offset. Your eyes are set next to each other at the same level, not stacked. The anaglyph needs to work with that arrangement.
Once you make your anaglyph, use the appropriate 3D glasses to view the images directly from the screen. If you print the page, it may or may not work depending on your printer’s version of red and cyan.
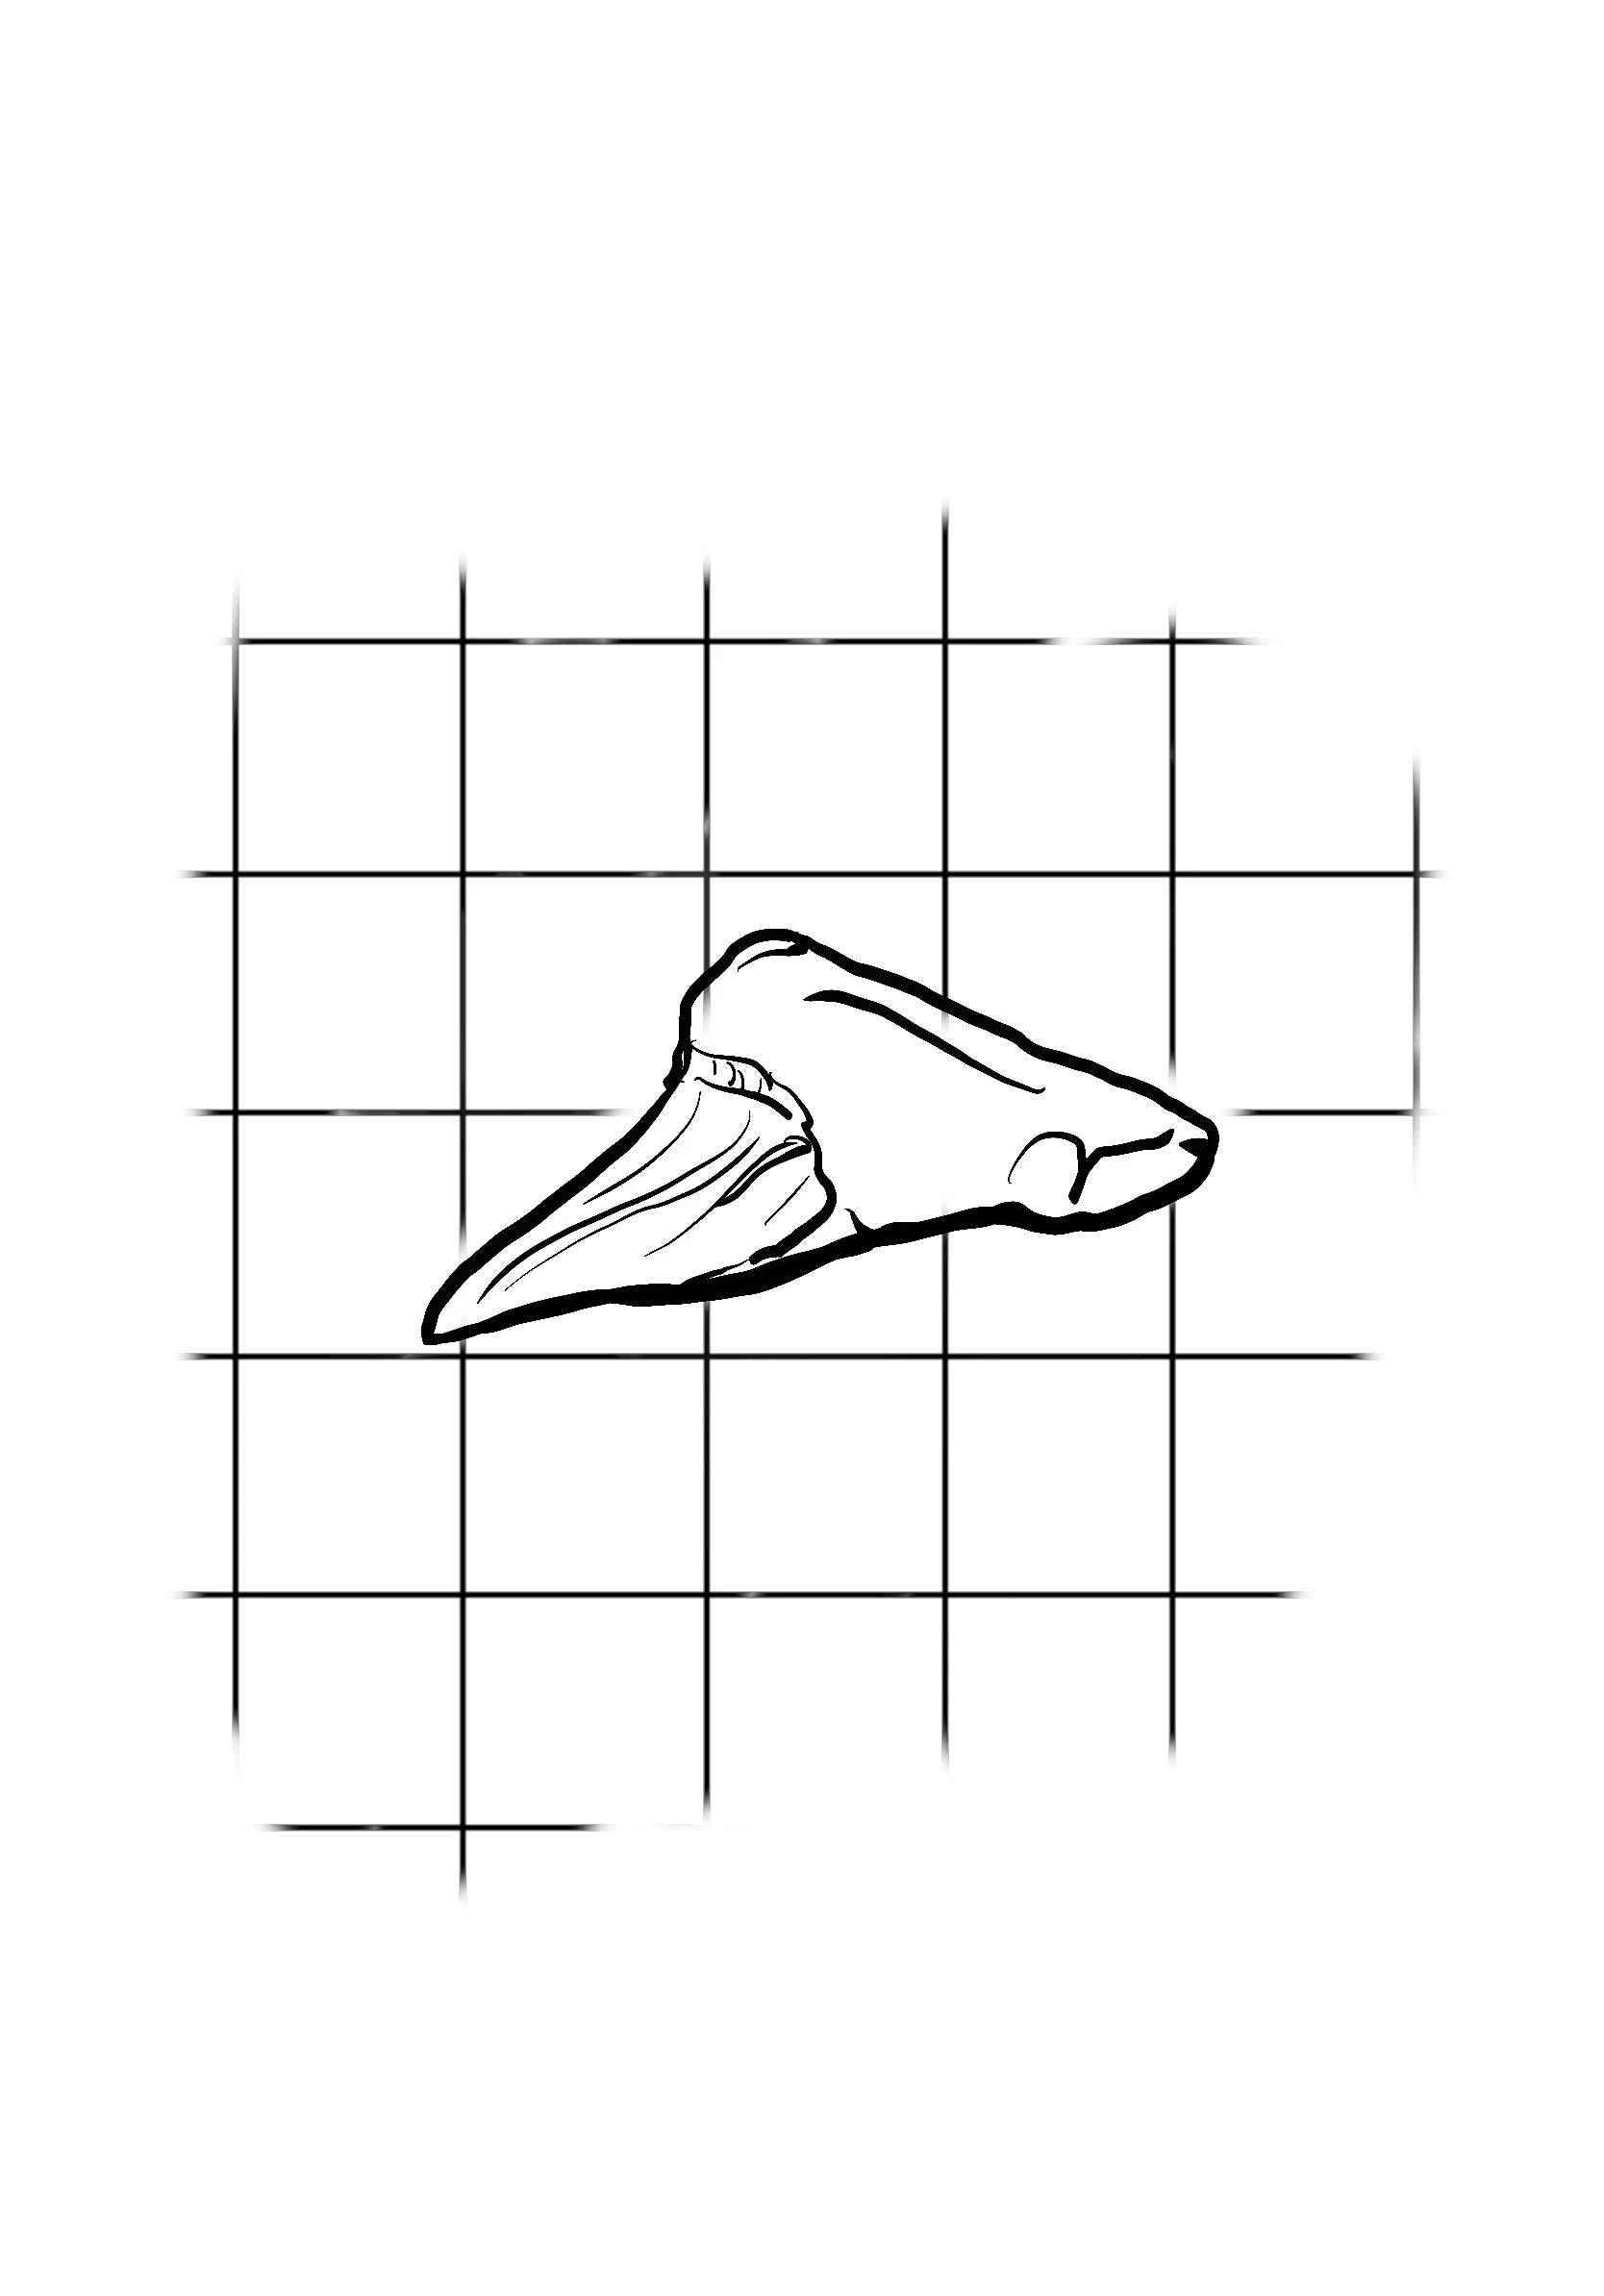
On my Etsy store, I have several booklets where I use black-and-white traced photographs and turn them into anaglyphs with varying depth, depth layers, and other gimmicks. Personally I think comic-style black & white drawings can make great anaglyphs. You can do the same using the basic techniques from this post, just work from a single drawing that you copy and paste, don’t try to hand-draw the same scene twice.