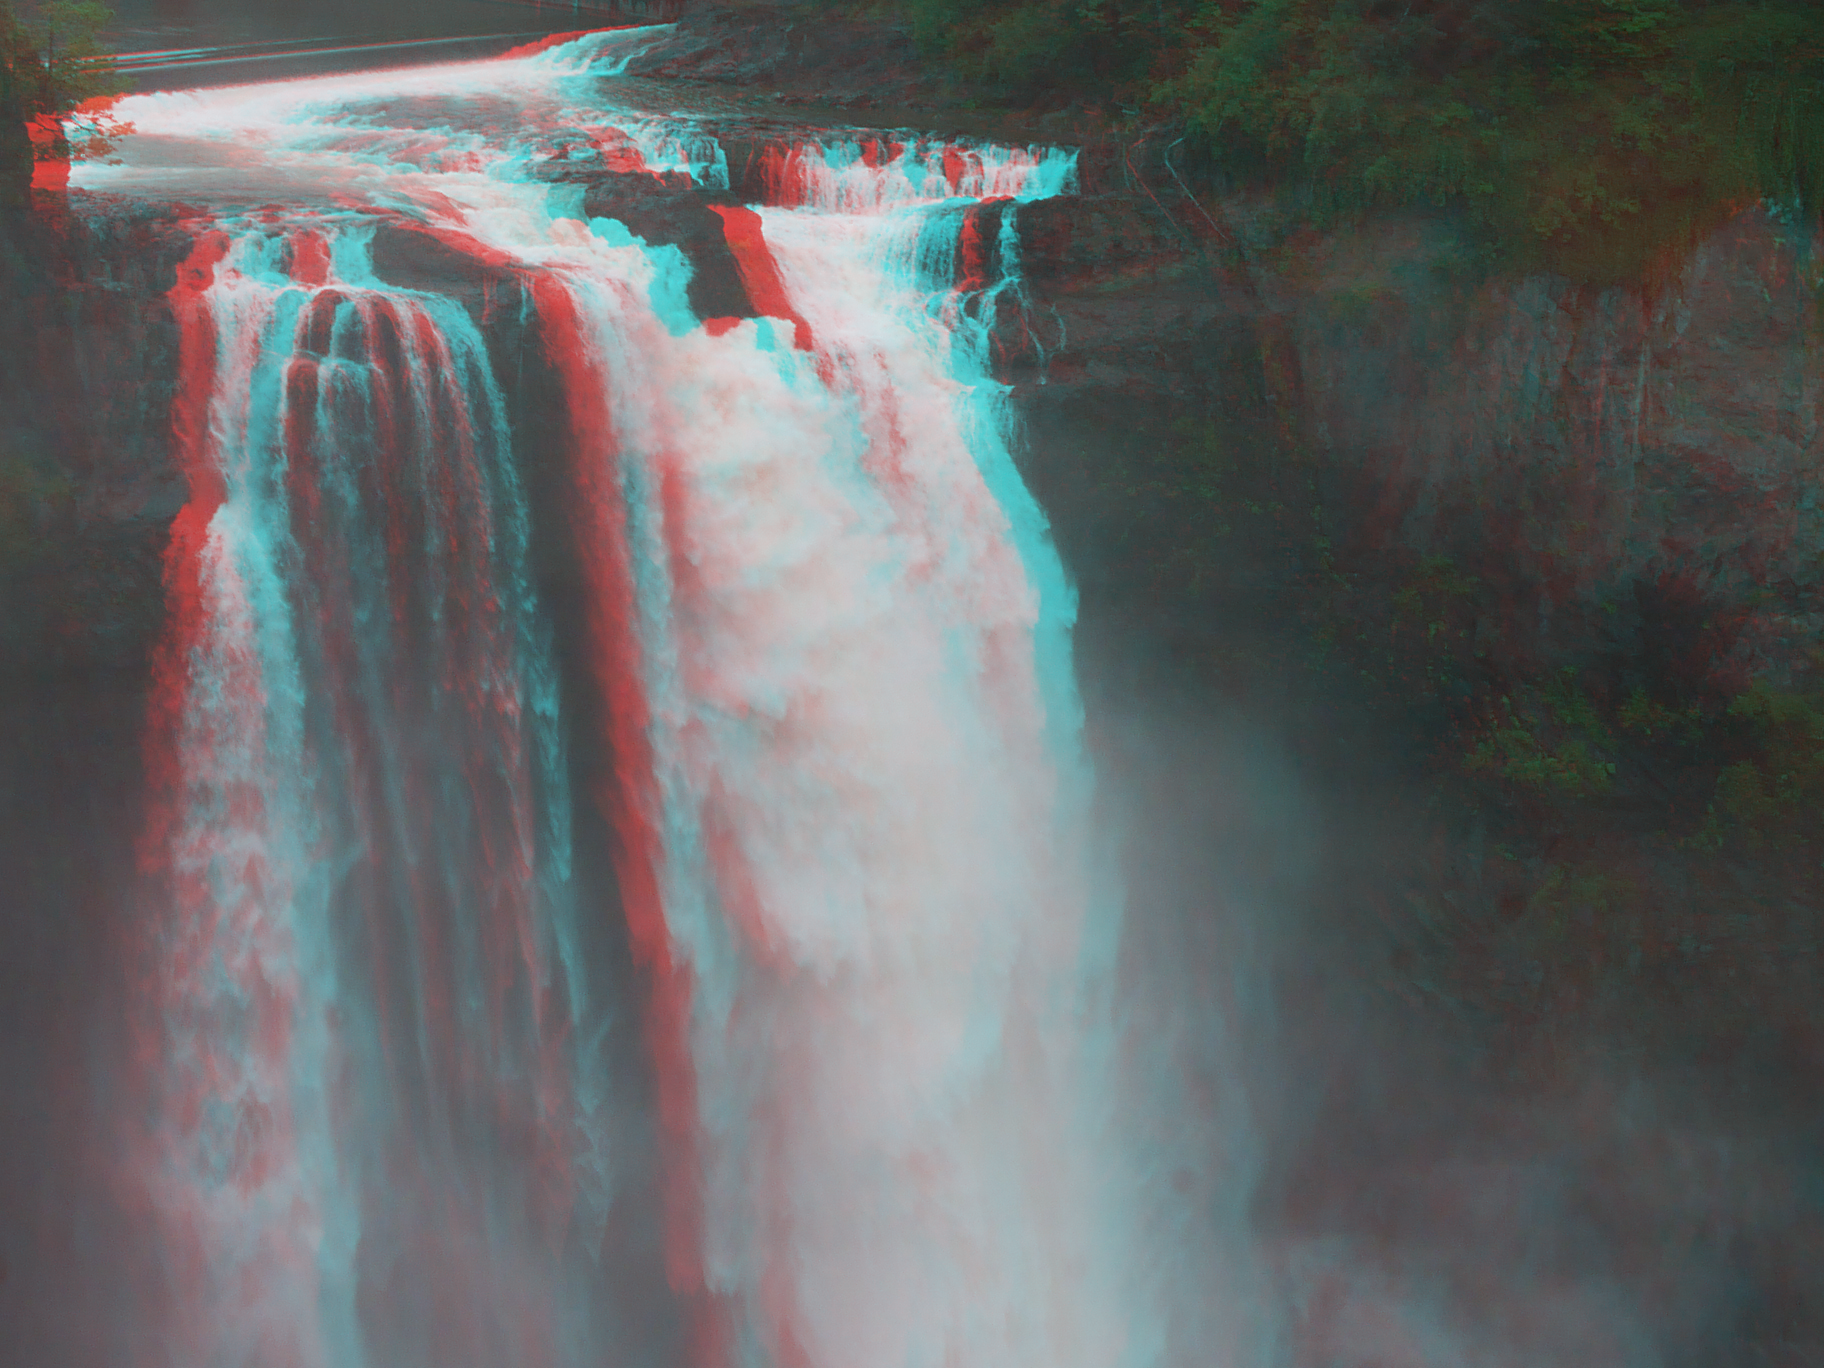
Advanced Anaglyphs
In the last post, we made simple anaglyphs using a single image which we duplicated and offset. If you spent some time with this you may have found its limitations. While you can apply this technique to words, line art, or even entire photographs (black and white OR color), you will never get a realistic 3D experience using the exact same base image for both eyes. This is because that is not how real 3D vision works: If you consider each of your eyes as a movie camera feeding footage to your brain, you have two cameras separated by some distance. They send slightly different images to the brain for processing.
So if you have Jaws3D money, you should also get two cameras. Or, one camera with two lenses. And these do pop up from time to time. I have a very huge lens attachment that I bought from a stereo photography specialty site. I also scoured eBay until a reasonably priced stereo camera popped up (I have a FujiFilm Real 3D camera whose SD card can hold FOUR entire images). My biggest score, however, was getting one of the discontinued 3D lenses for my Panasonic Lumix MFT camera body.
If you chose any of these routes, your next problem is accessing or viewing the files. The FujiFilm Real 3D camera had a viewer (sold separately) that costs $500 or more on ebay so I don’t have one. (Incidentally, can’t IMAGINE why this tech keeps failing to catch on with a wider audience. :). Digital cameras that do stereo images typically use the .MPO format, which is basically a fancy layered JPEG. I find it’s hit or miss if my favorite programs will recognize this formate (Photoshop yes, Affinity Photo not so much, for example). I have had mixed results with hobbyist-coded freeware programs designed to open MPO files.
But, if you can get to the MPO file, generating an anaglyph viewable with simple red-cyan paper glasses is straightforward. It’s a bit more complicated than our line art process, but if you’ve come this far you are ready.
Take the two layers of the MPO and double check that you know which is the left eye and which is the right. Take the left eye and go to the channels menu - remove all green and blue signal, so that the image has only the red components for each pixel. Do the same for the right eye, except in that case remove the red signal. You should end up with a red image and a cyan image which look almost, but not quite, identical. Layer the red image over the cyan one. Do not offset the images, that was handled when you took the picture with a dual-lens camera. Set the blend mode of the top layer to “add.” You should have an image that looks almost like a full-color original but with red and cyan outlines;