Our First Anaglyph
Starting simple with text or a B&W line image, we’ll learn to duplicate, color and offset our images for viewing through 3D glasses.
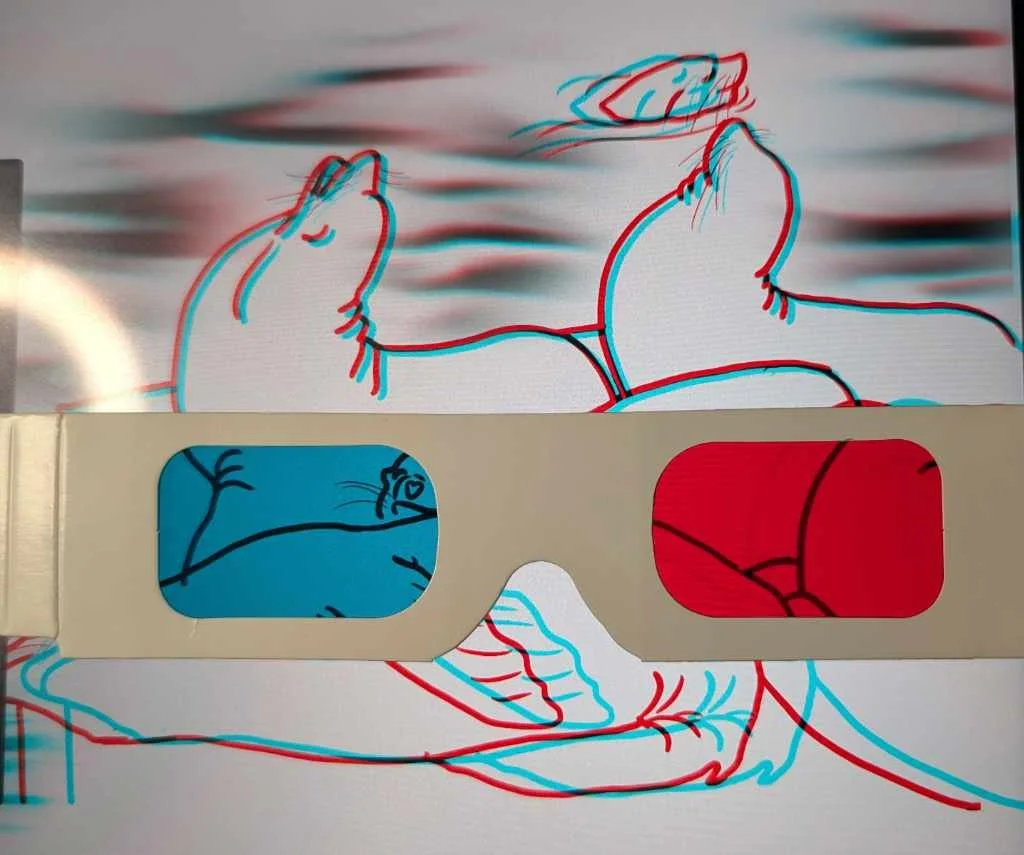

Take this photo of sea lions that I took somewhere - Monterey, San Francisco, who knows - and traced. Originally it was supposed to be a simple coloring sheet but according to my Etsy metrics, that is not going great. Let’s attempt to extract some value out of it by using it to make an anaglyph. But first, let’s start a little easier.
An anaglyph is a type of stereoscopic image, specifically this kind of two-color offset viewed through color filter glasses. We’re starting with anaglyphs for several reasons:
They’re familiar, most people have seen these before.
They’re relatively simple, filters and even open-source image processing software is readily available.
We don’t NEED two offset images to make an anaglyph, we can “cheat” a bit from one image, if we’re OK with a little hit to quality.
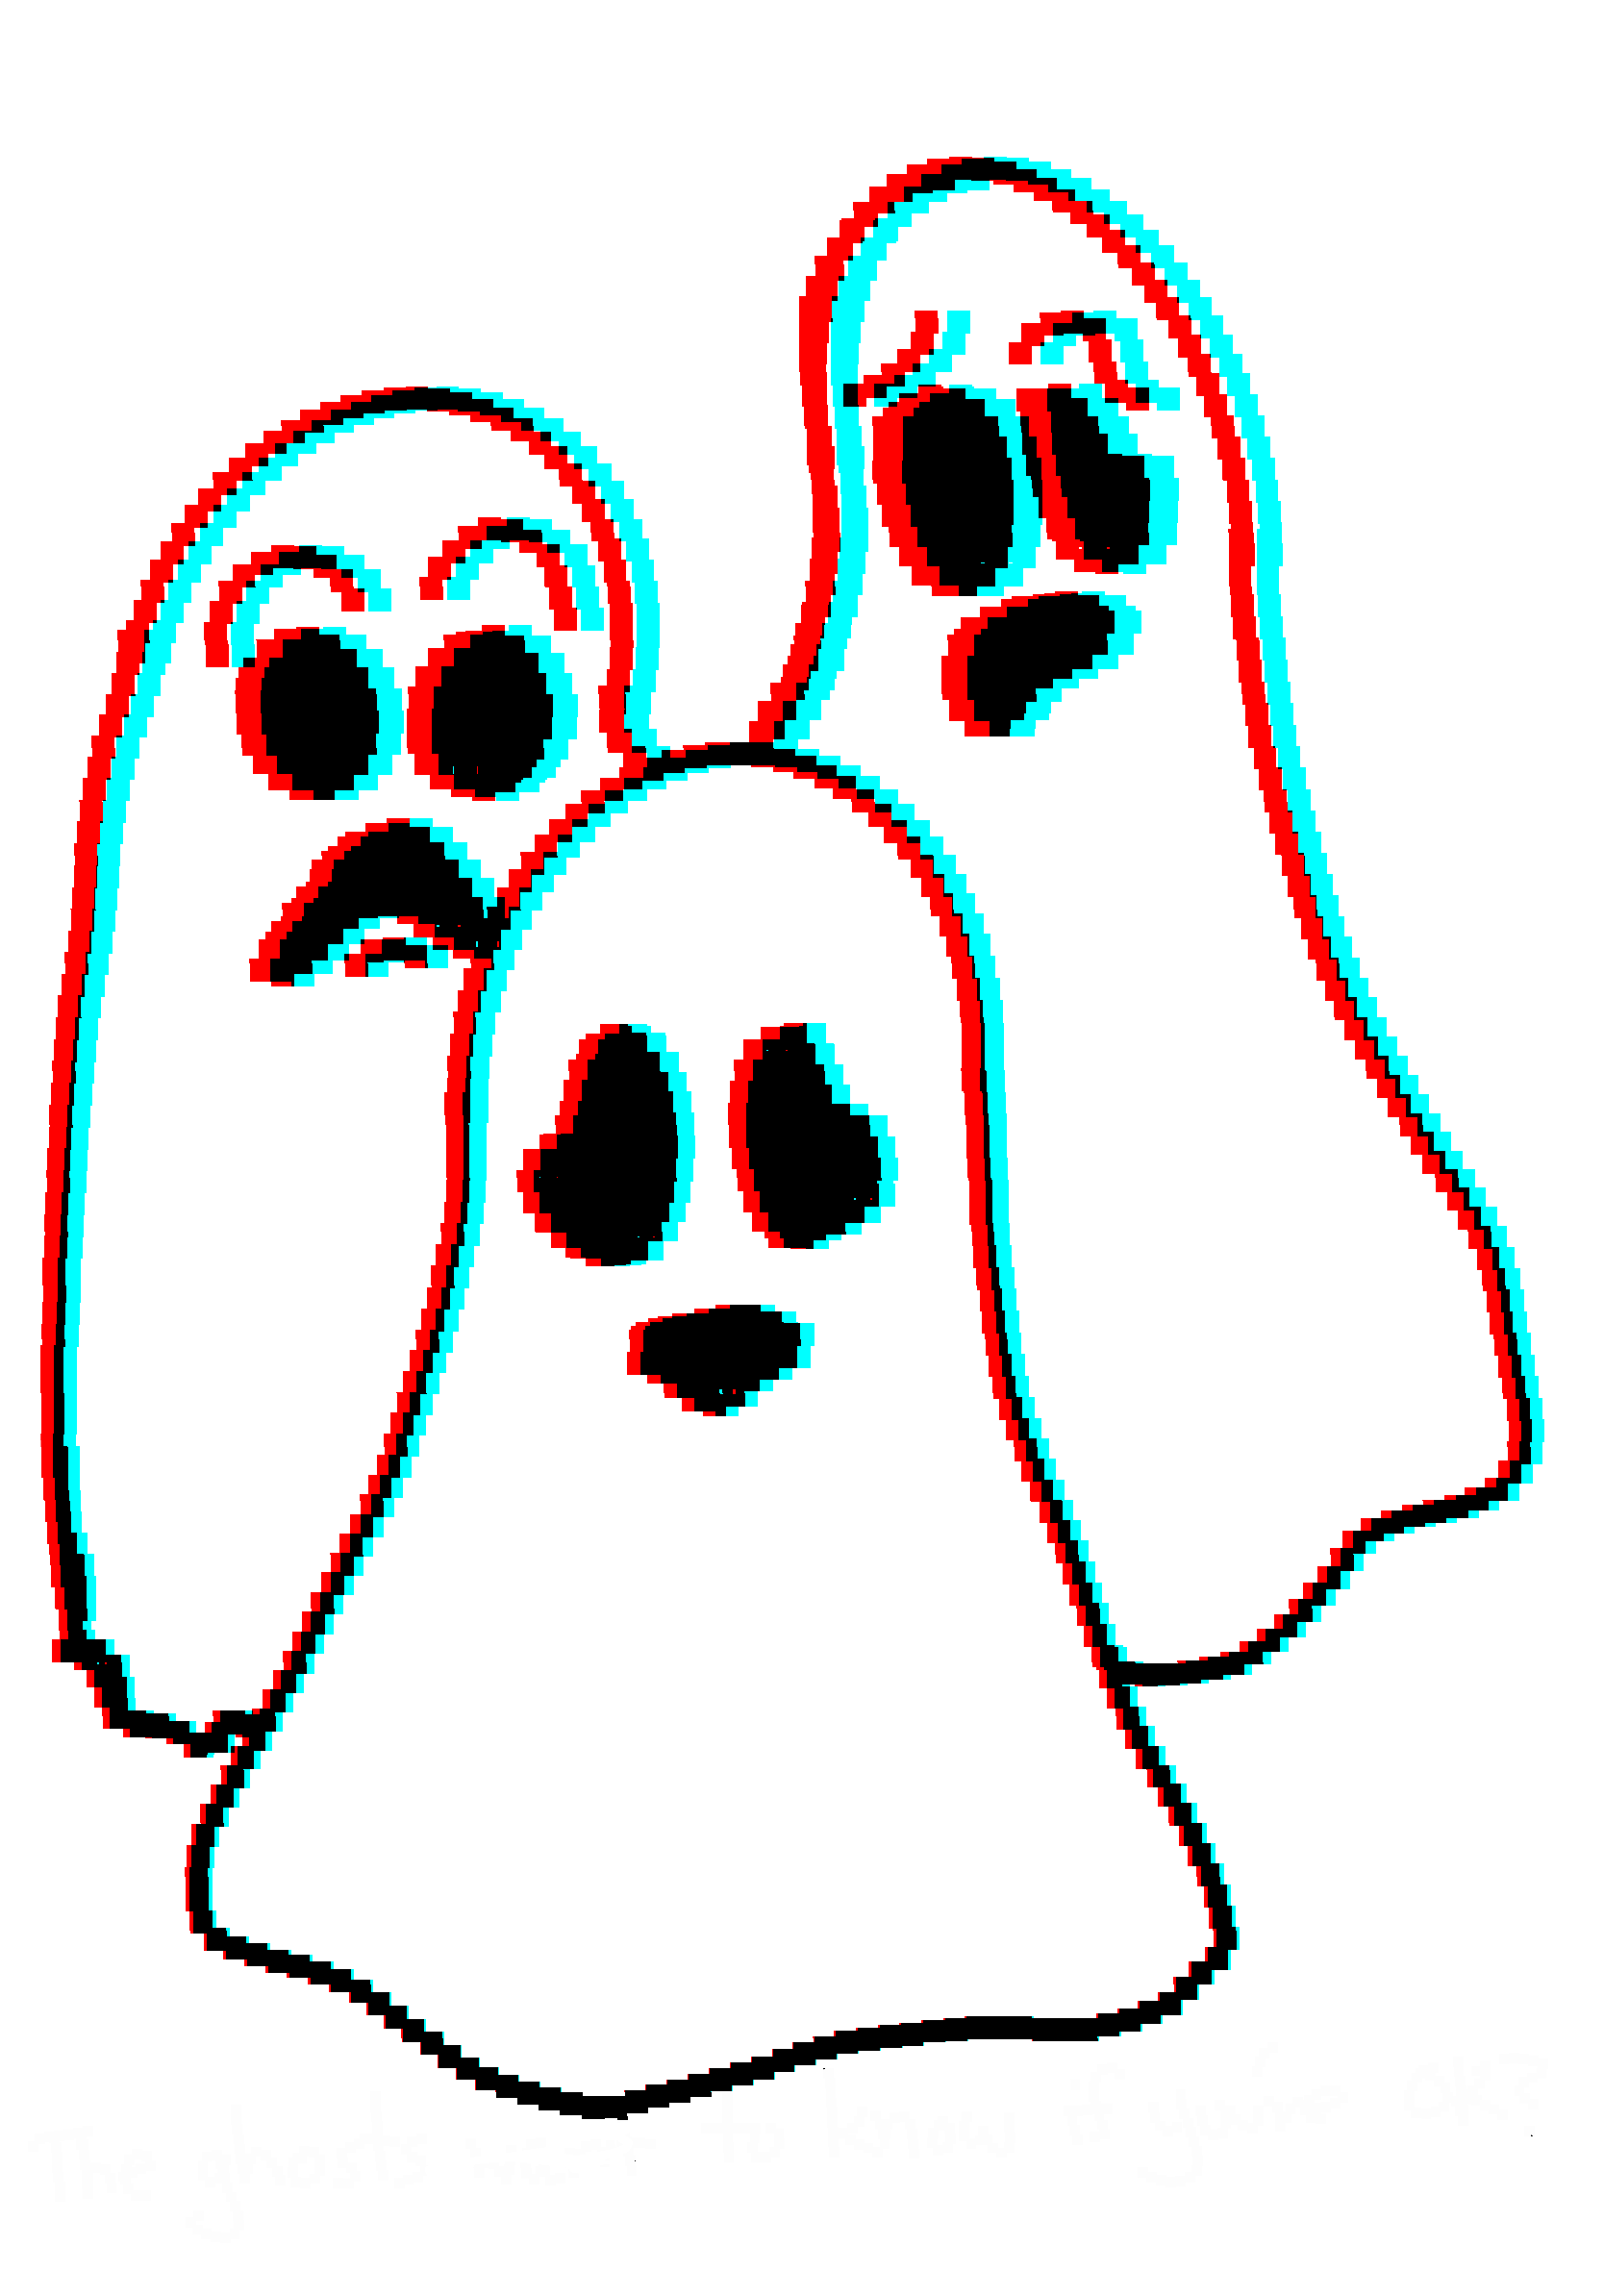
Personally, I think simple text or line-art examples are the easiest to make and see, so we’ll start there.
Supplies
You will need:
An image processing program that supports layers and different types of layer mixing.
Ideas for text or simple line art.
3D Glasses (I get mine from Rainbow Symphony)
Programs
This is not a comprehensive list. If you have success with other programs, feel free to let us know.
Photoshop - the most famous imaging processing software ever. If you have access to the Adobe suite, lucky you!
Affinity Photo and Designer - an affordable Photoshop alternative, budget permitting (now offered through Canva, which I hear is exciting!)
GIMP - the king of open-source programs, has a bit of a learning curve but you can’t beat the cost or features.
Procreate - a raster program for iPads.
Sketch-Up - also for iPads.
Inkscape
Considerations
We want to make one template and duplicate it before adding the colors and the offset, because we want the offset images to be identical except for color and position. Hand-drawing each layer separately will introduce imperfections that may make our eyes hurt later.
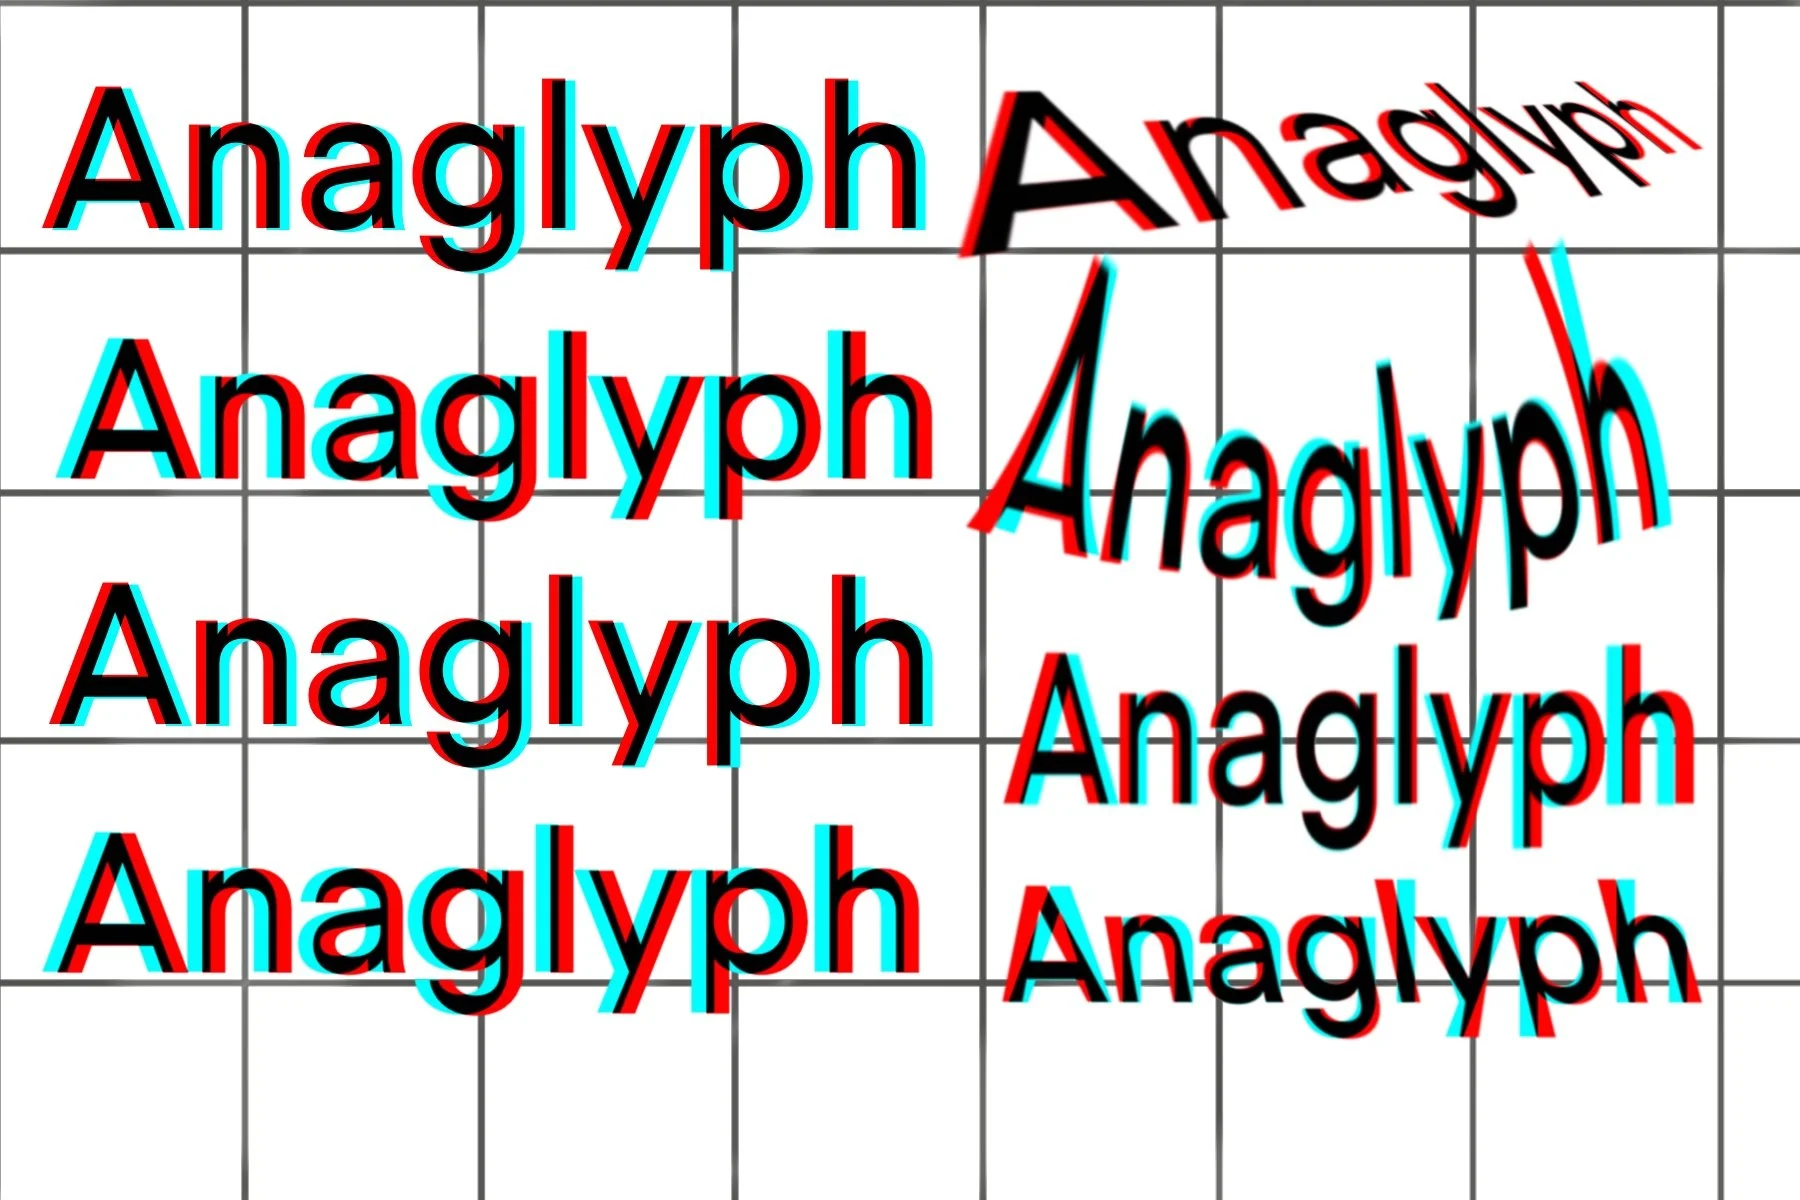
Pick the colors to match the glasses, and note which color filter is over the LEFT eye. That color, on the image, should be offset to the LEFT. Later we can break this rule but for now, let’s keep it simple.
For a simple example, I find it easier to see the effect if there is something in the background that is NOT part of the anaglyph. I use a grey grid background in some examples, just something simple and not distracting. This background is NOT duplicated, colored or offset.
To Make an Anaglyph
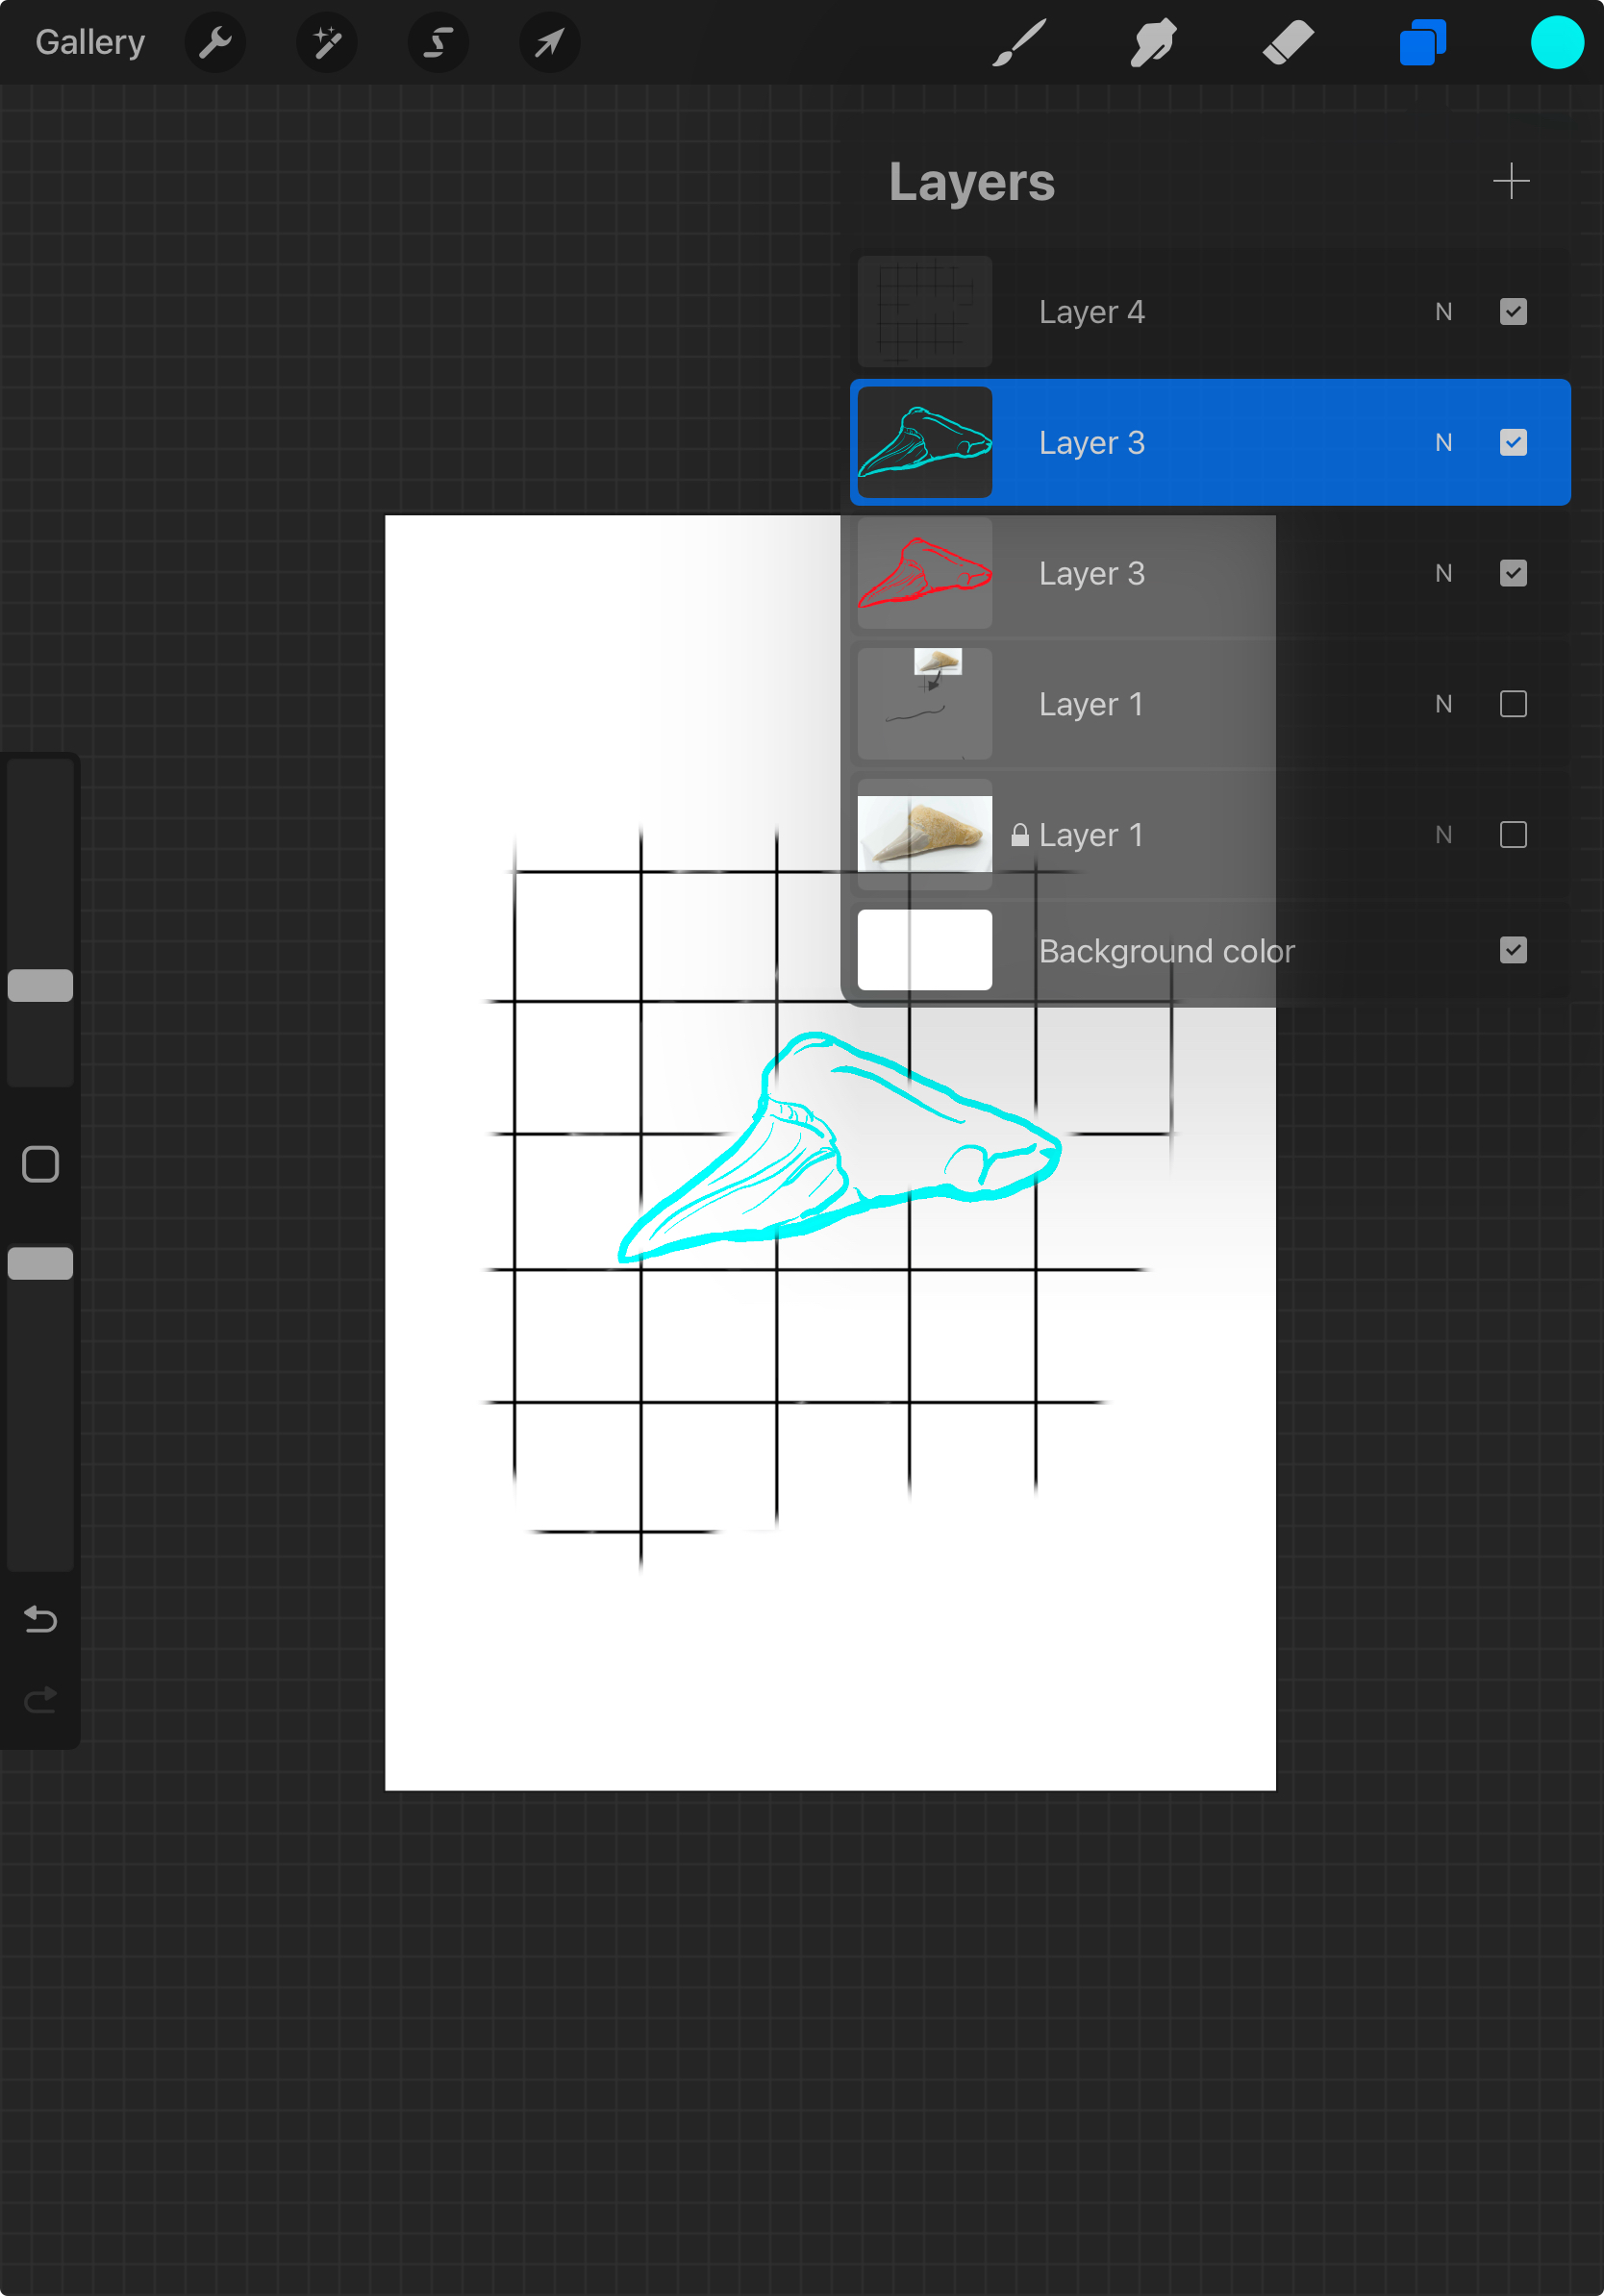
Generate some text or a line image. Here, I have a picture of a shark tooth. The first layer of the image is a gray grid. The second is the imported picture. On a third layer, I trace the tooth.
When you’re satisfied with your tracing, hide the imported image (you’ll want to avoid deleting layers entirely as you may need to backtrack.).


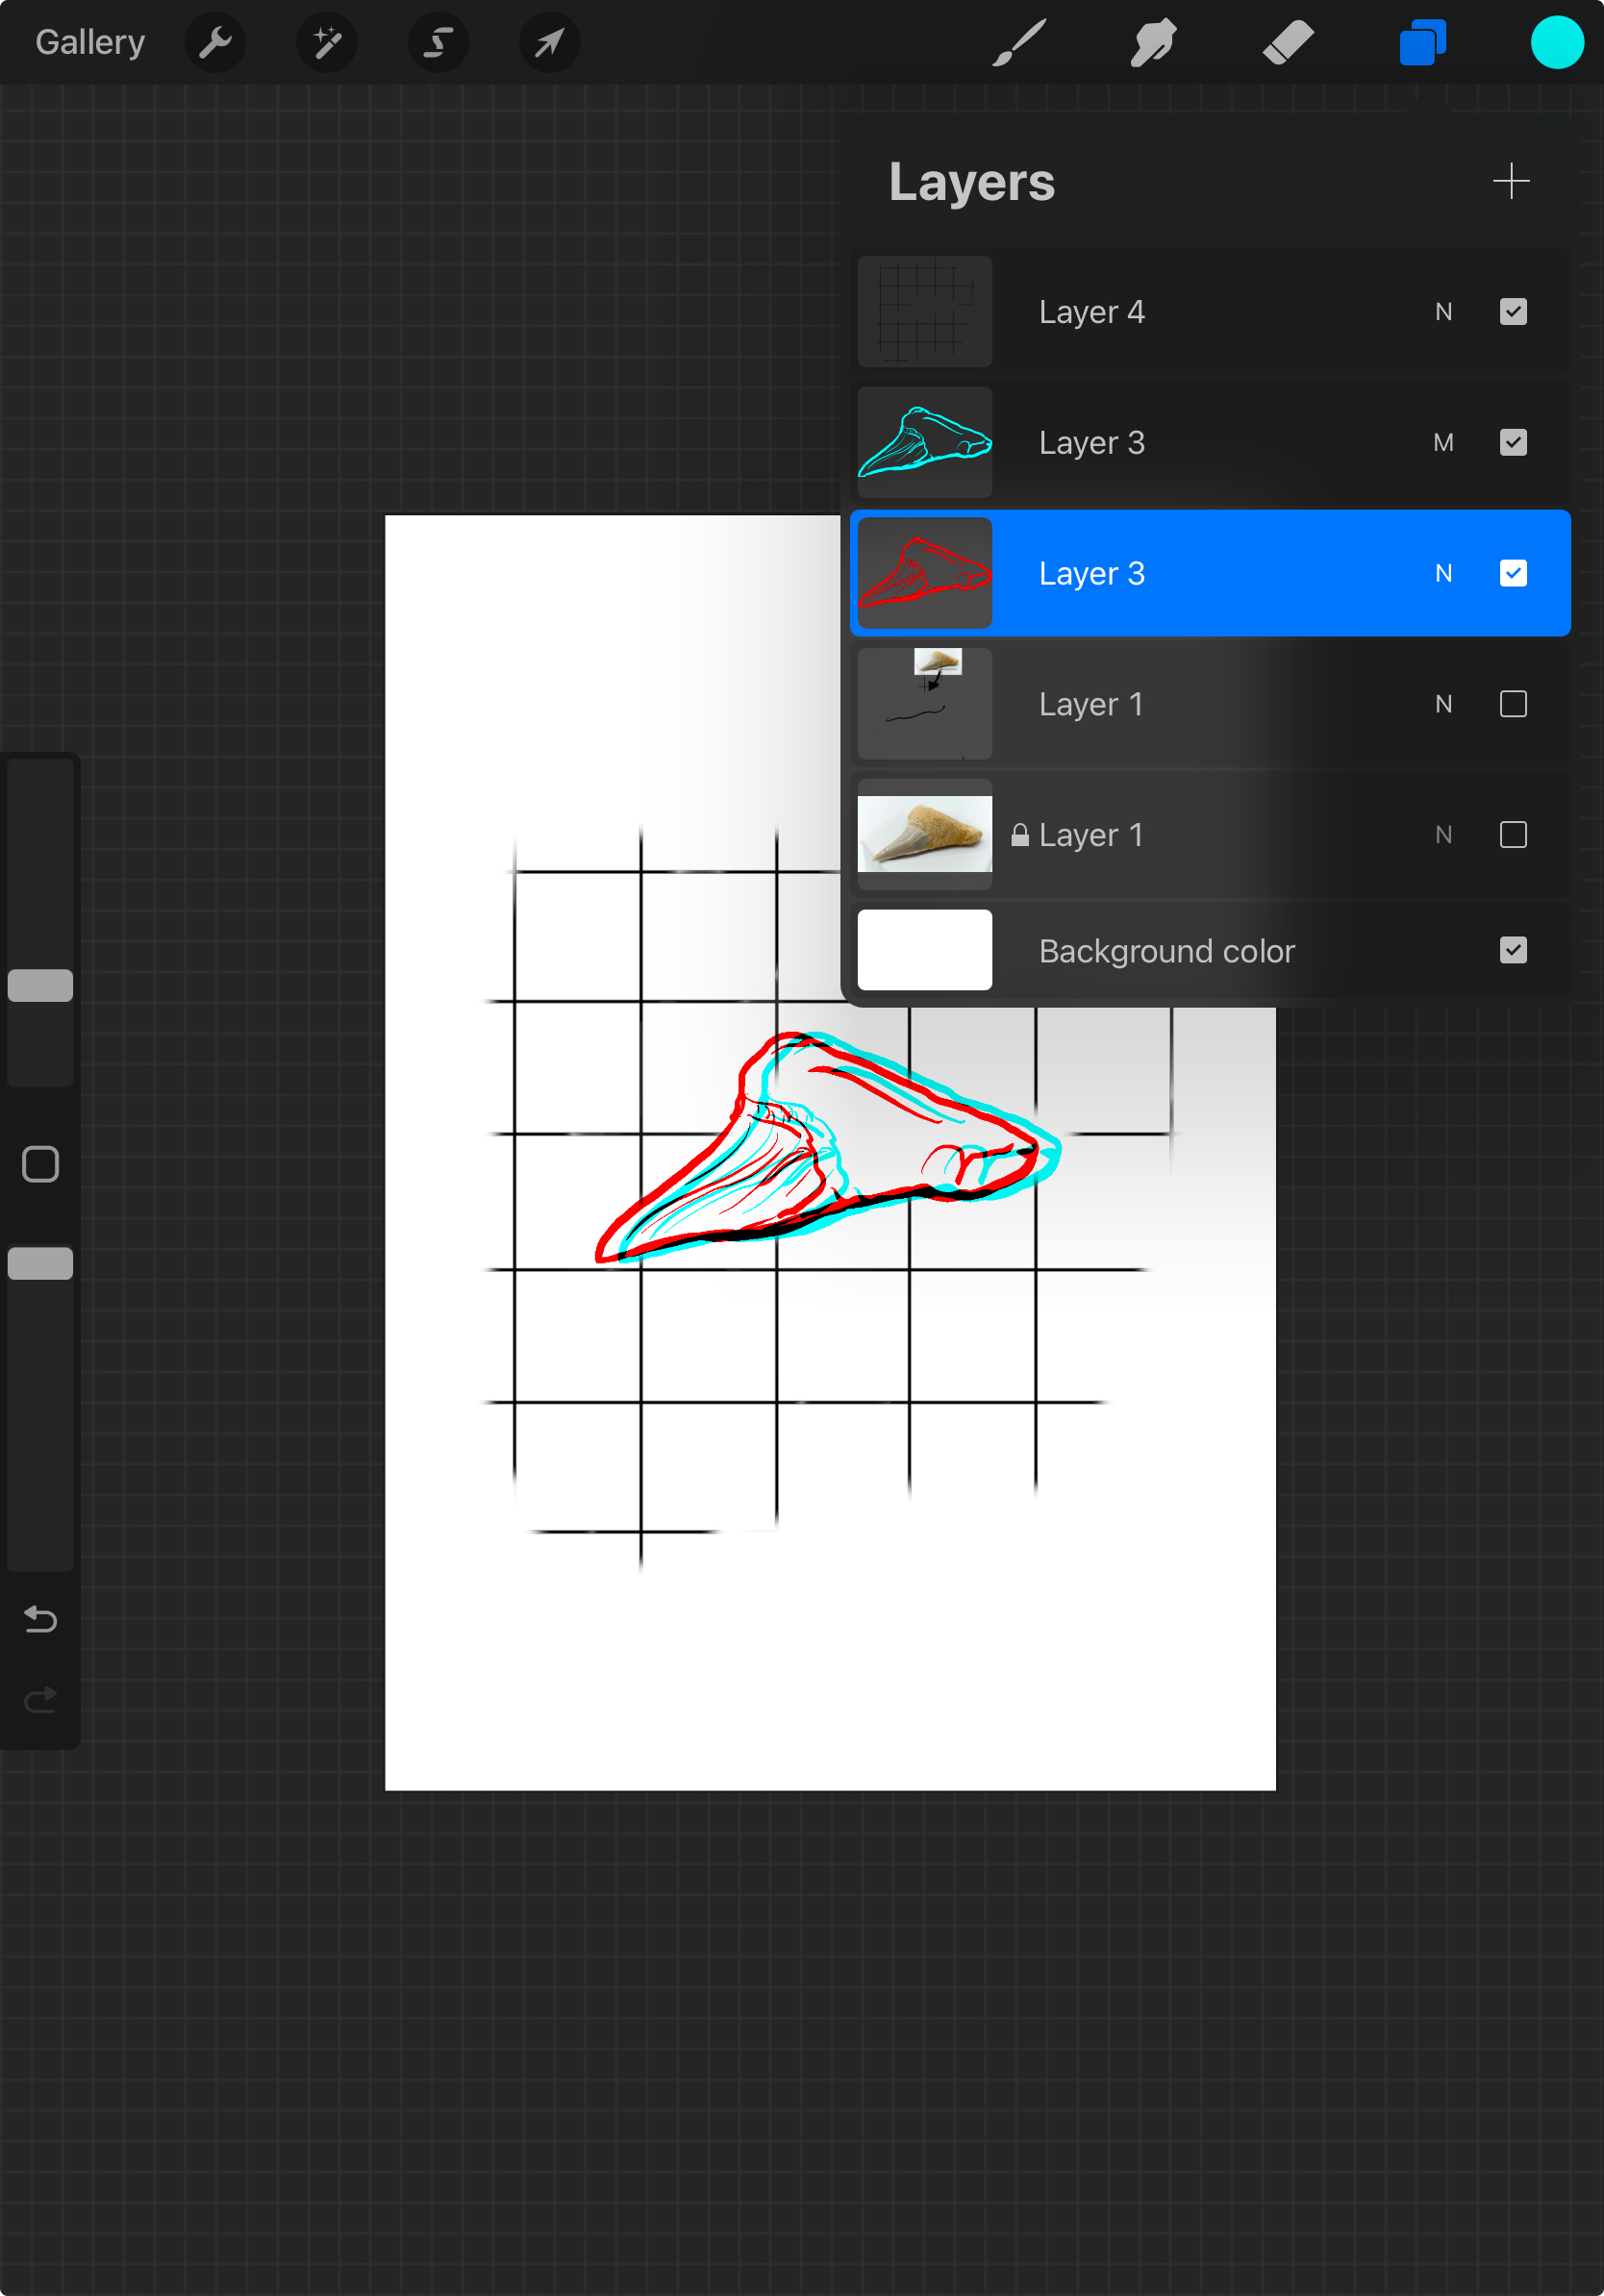
2. Select the tracing layer and duplicate it twice. Hide the original copy (again, just in case). If, like me, you bought RED/CYAN glasses, you will want to turn one of these layers into a RED line drawing, and the second into a CYAN line drawing. How you do this depends on your program.
In Affinity or Photoshop. I will adjust the color channels. In Procreate for a B& White line image, I use masks. The important thing is that one image is 100% red and the second 100% red.
Take the red layer and nudge it over to the left a bit (not too much!)
At this point, you shouldn’t see the bottom color peeking through the top. Take your top line drawing and set the mix mode to “multiply” (the overlaps should look black, if not you may need to scroll through your mixing options).
Ta-Daaa! You are done with the hard part
Export the image to JPG or PNG, whatever you like. You can now view it on a tablet or print it with a CYMK printer and it should look as though the shark tooth is hovering above the grid. You may need a few seconds, let your eyes relax and gaze at a point in the center of the page. Don’t work too hard to see it, let your eyes and brain do the work.